
Where to begin?
Initial impressions I suppose. When we first walked into our GMC when we bought it I liked everything about it. Kathleen felt the same. Except for the bathroom.
At risk of offending GMC folks the world over: TheGMC bathroom is awful. It feels like being in an airplane bathroom in 1976 (and no that’s not a good nostalgic feeling). Imagine taking a shower inside a normal residential refrigerator and that pretty much sums up the GMC bathroom experience.
Onward.
We decided we wanted a dry bath, meaning the shower has it’s own separate pan. The stock bathroom is a wet bath, meaning the whole bathroom is the shower.
After much deliberation and back and forth we came up with an ambitious design. Tile walls (in an RV? GASP), a Walnut shower pan and countertops (WOOD near WATER? GASP) and a nice modern aesthetic. Both are completely doable with the right materials and know how.
First order of business was the shower pan.
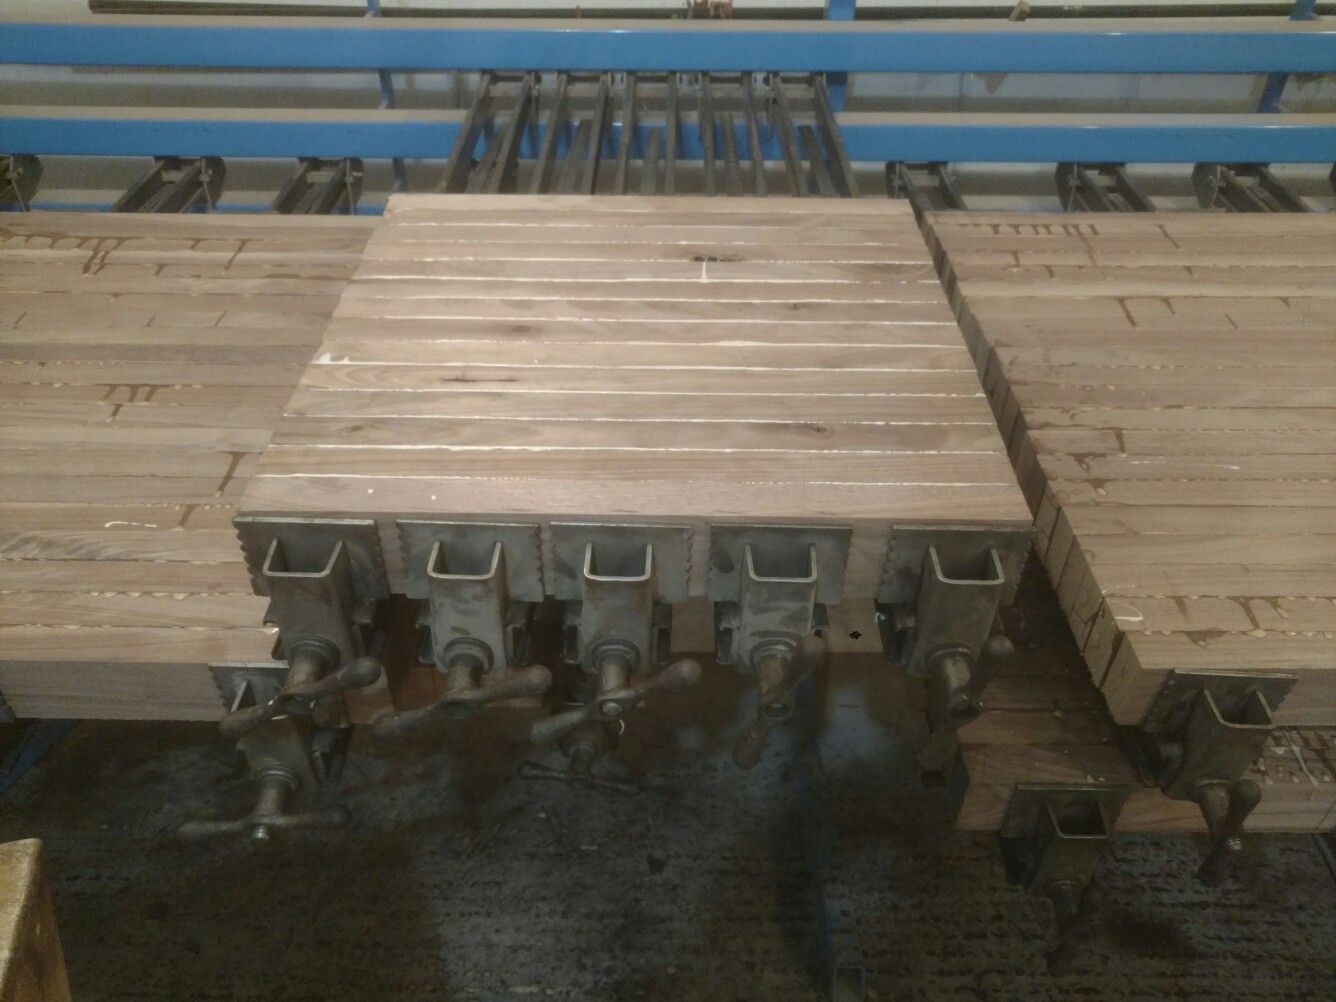
Glued up from a solid chunk of Black Walnut:
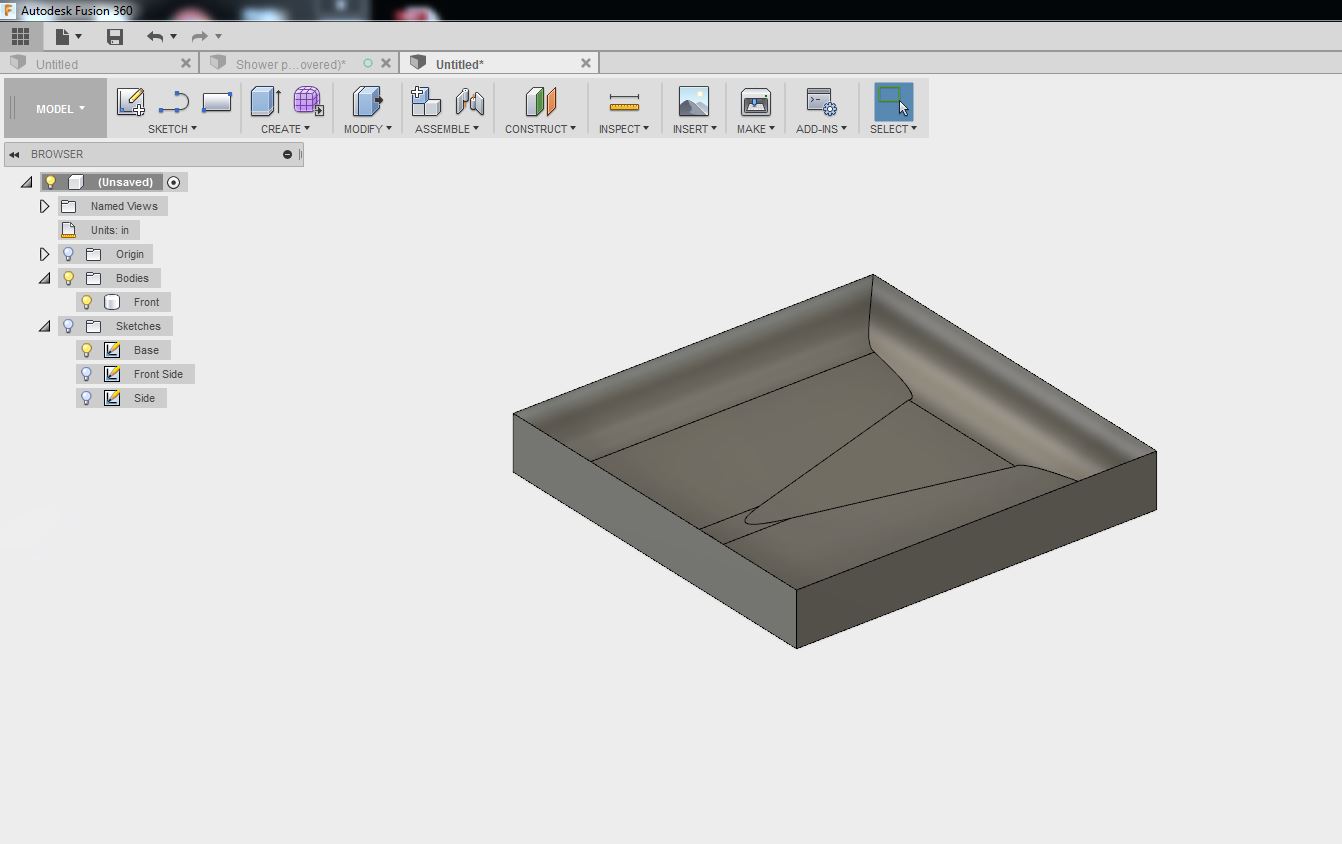
Designed in CAD so the water flows where it’s supposed to:
And then 18+ hours of CNC machining:
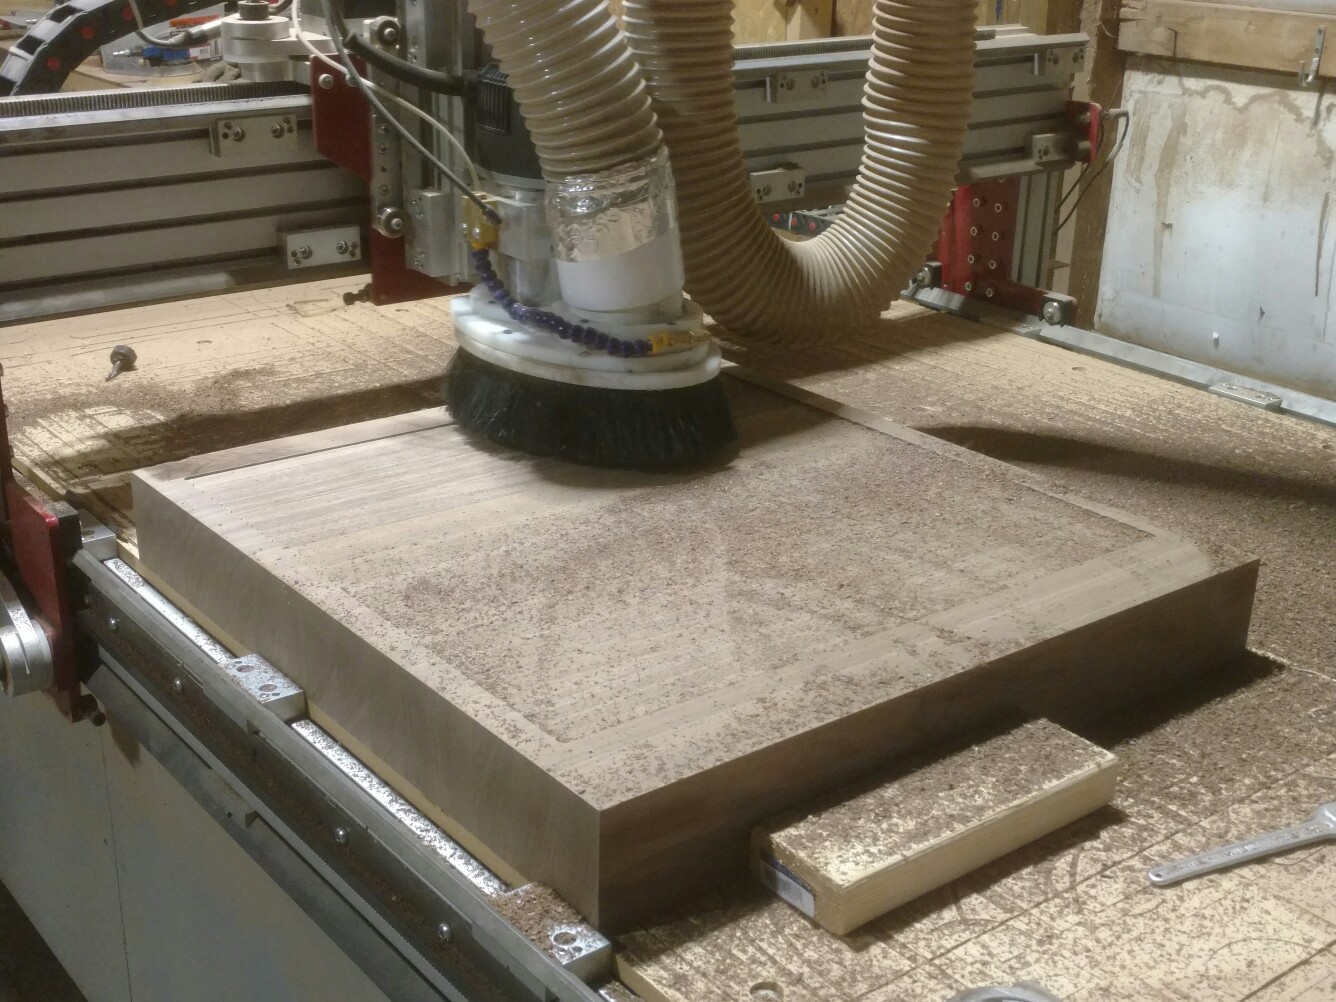
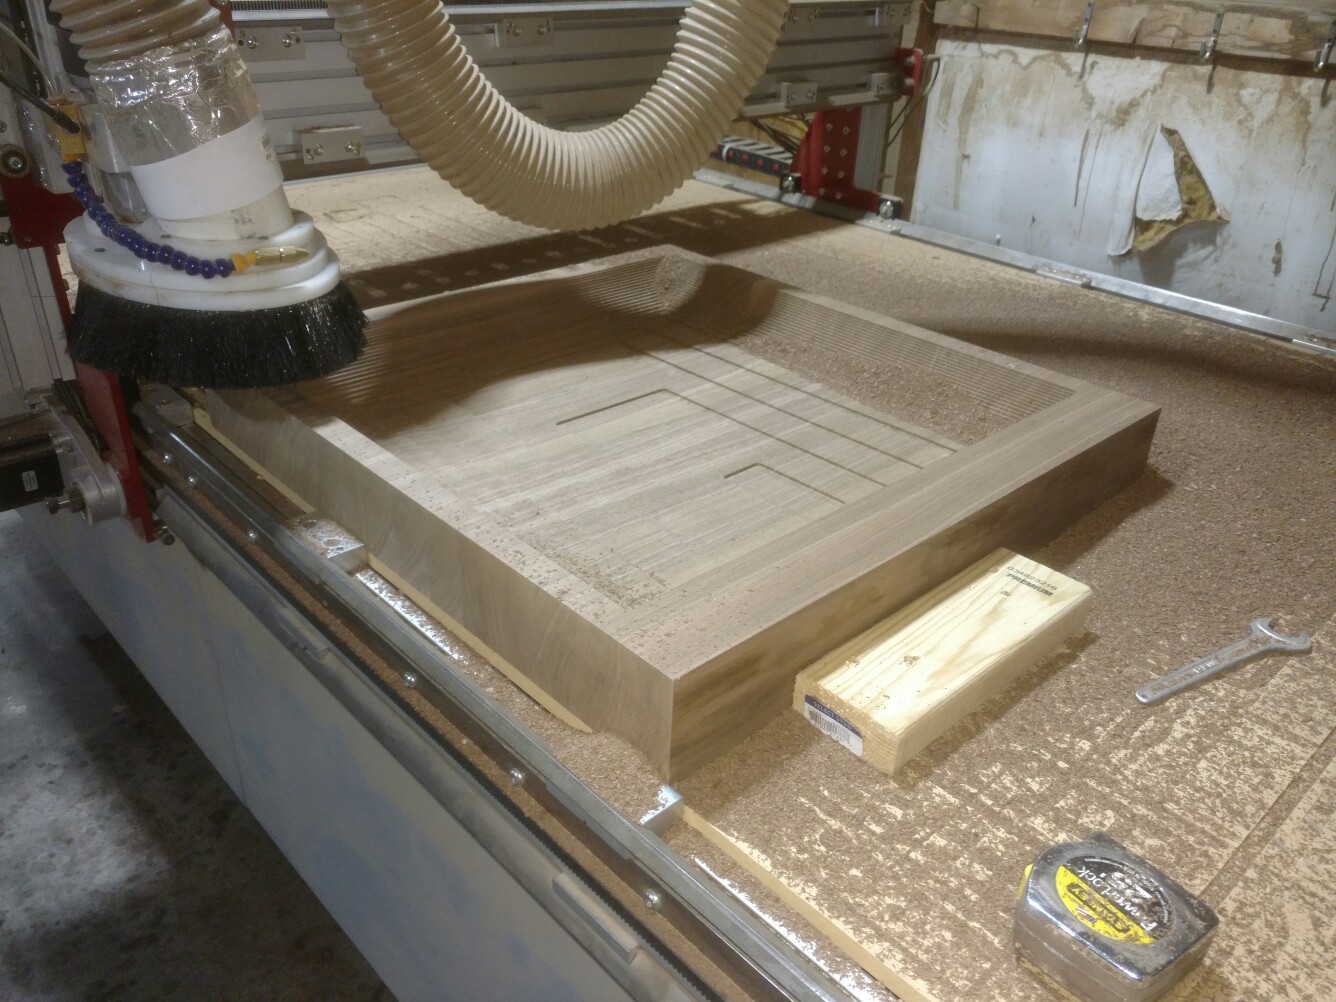
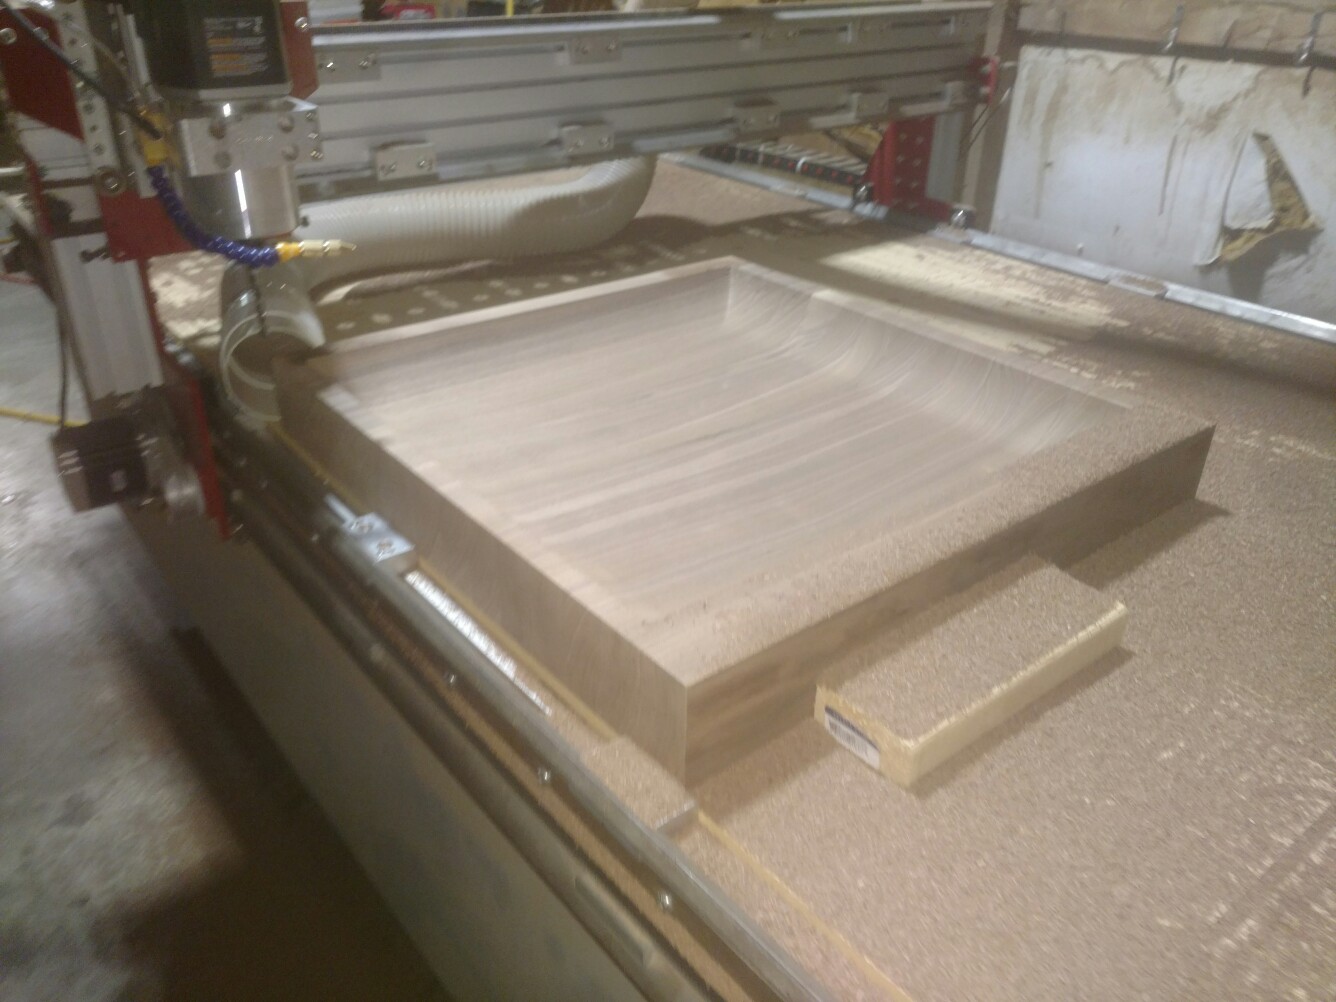
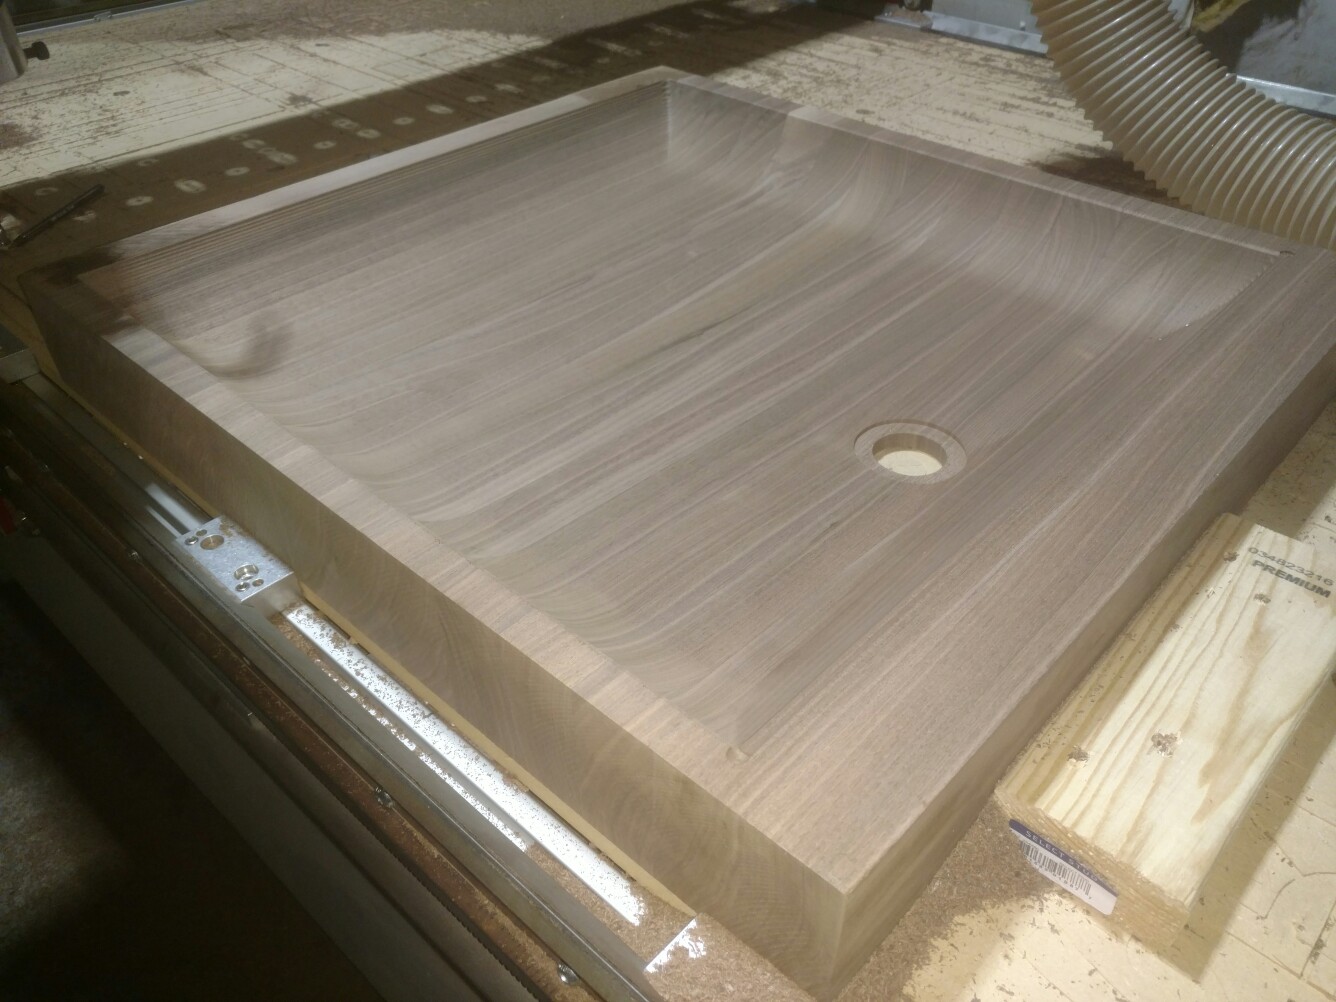
That’s 18 hrs cutting time condensed into 4 images.
It’s roughed out making a stepped bowl, then I go back in with a ball nose bit and follow the contours advancing down the length by .001″ at a time and it comes out like the last photo. Smooth as silk.
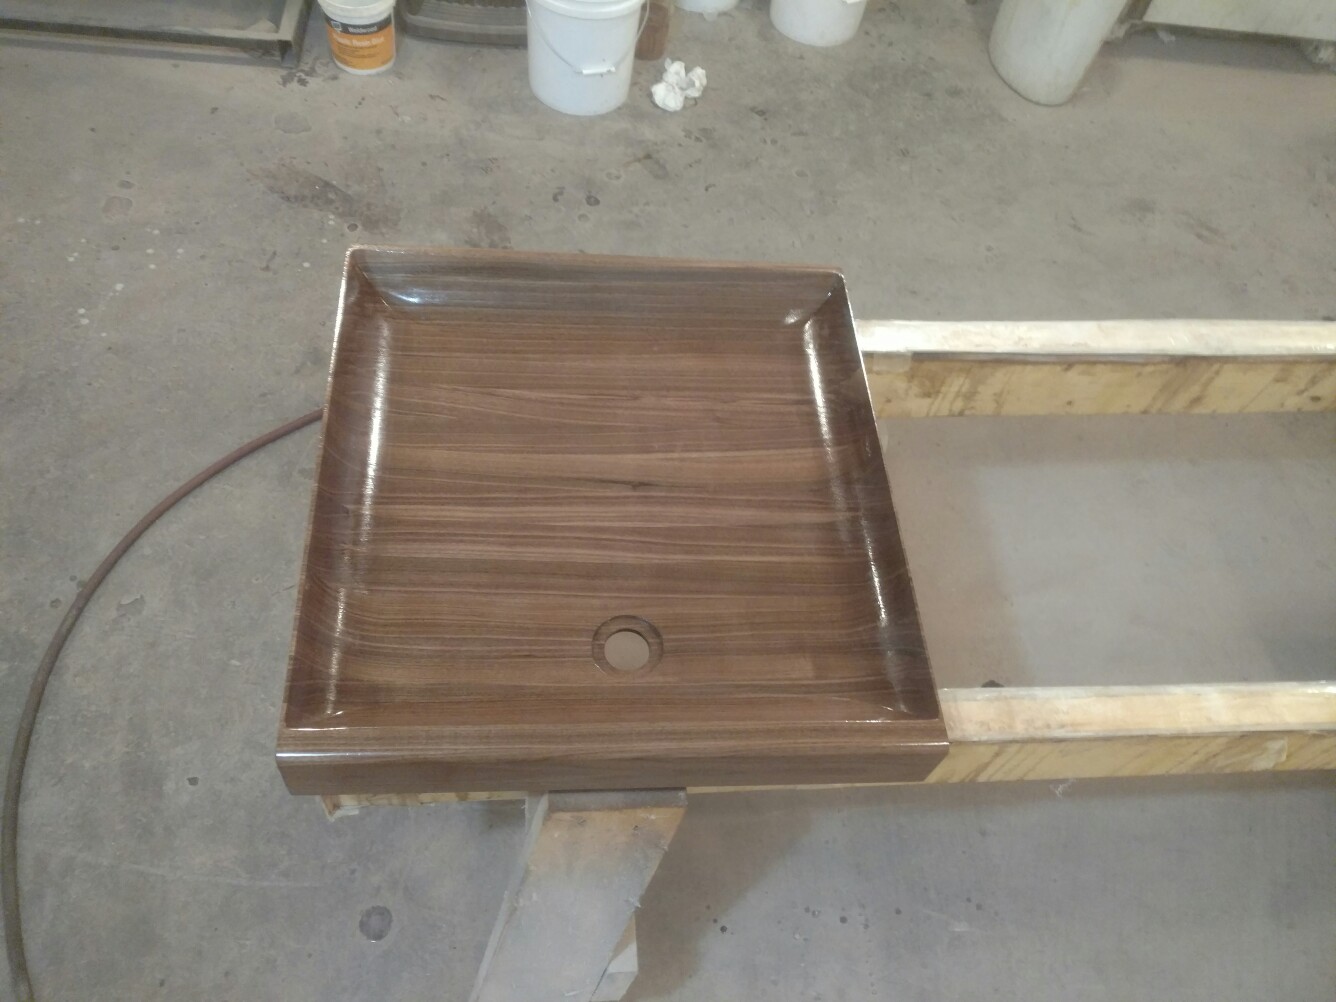
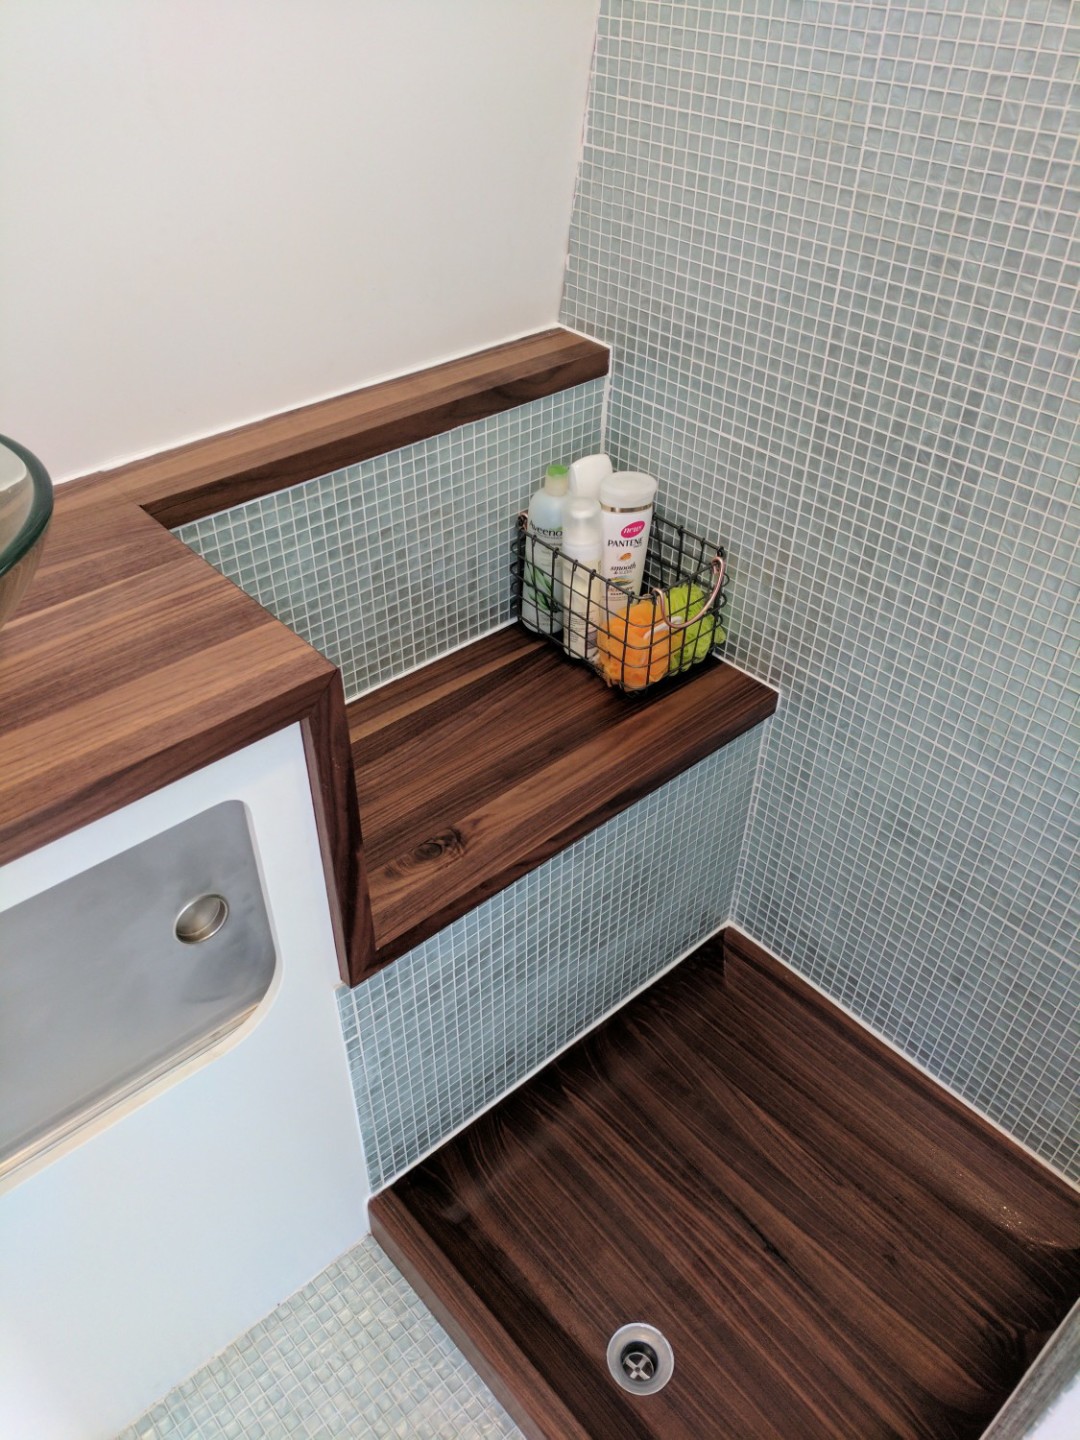
Add some Finish and we’re done!
Next we made up the countertops for the bathroom. We wanted a seat in the shower so we decided to waterfall a ledge of walnut over into the shower space. Waterfall means it’s made from 1 piece of wood cut at 45 degree angles so the grain flows all the way across the piece and waterfalls over the edges. This one was a bit more complicated because it had to waterfall back the other way as well, but we got it done! It also extends without waterfalling across the back as a shelf, also from the same piece of wood.
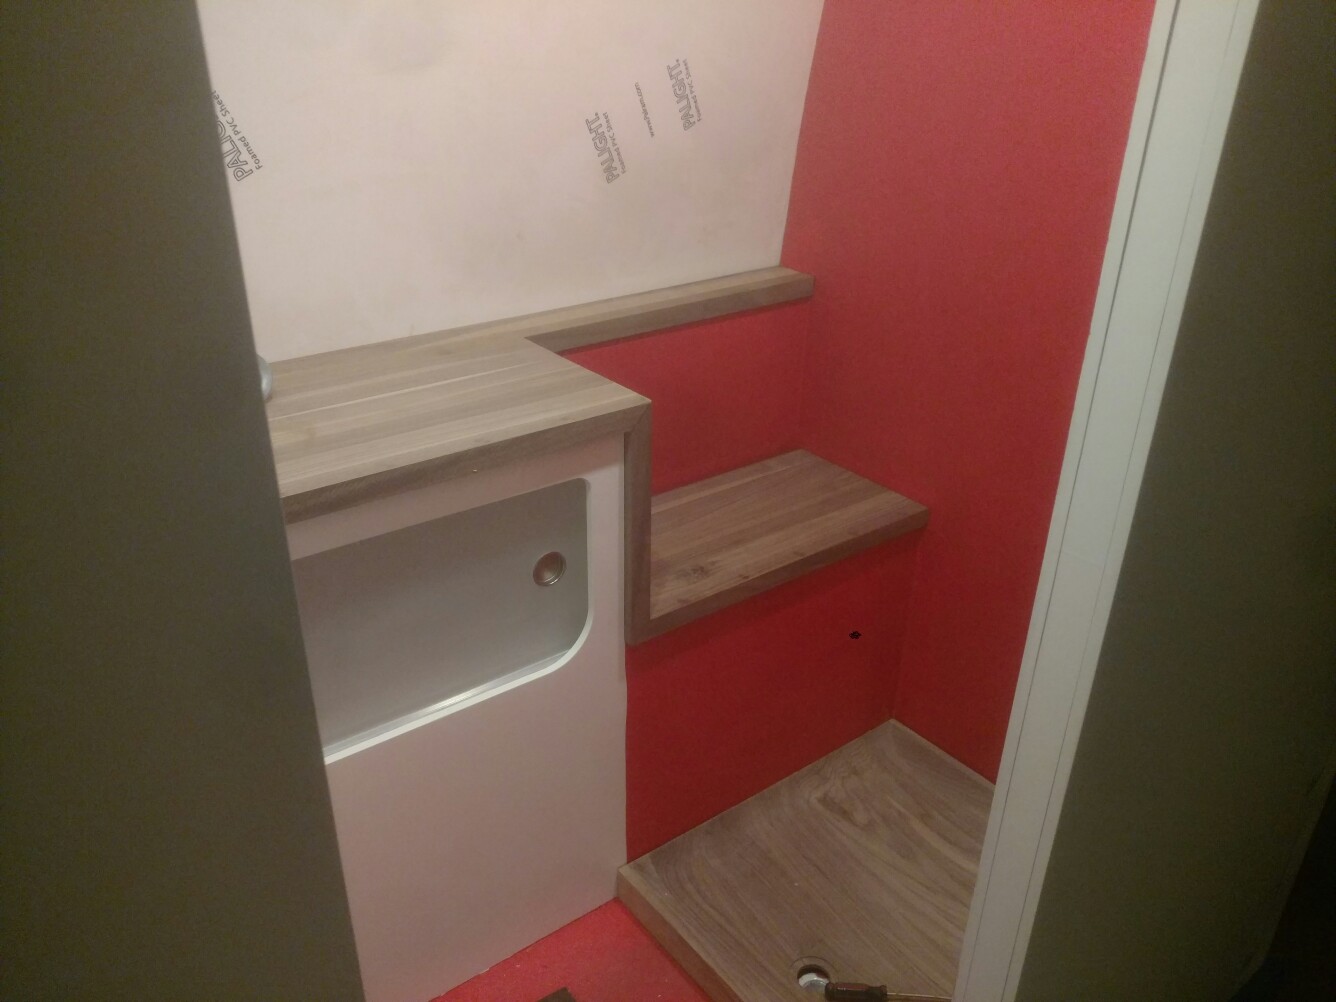
Okay cool but what’s all that red/pink crap?
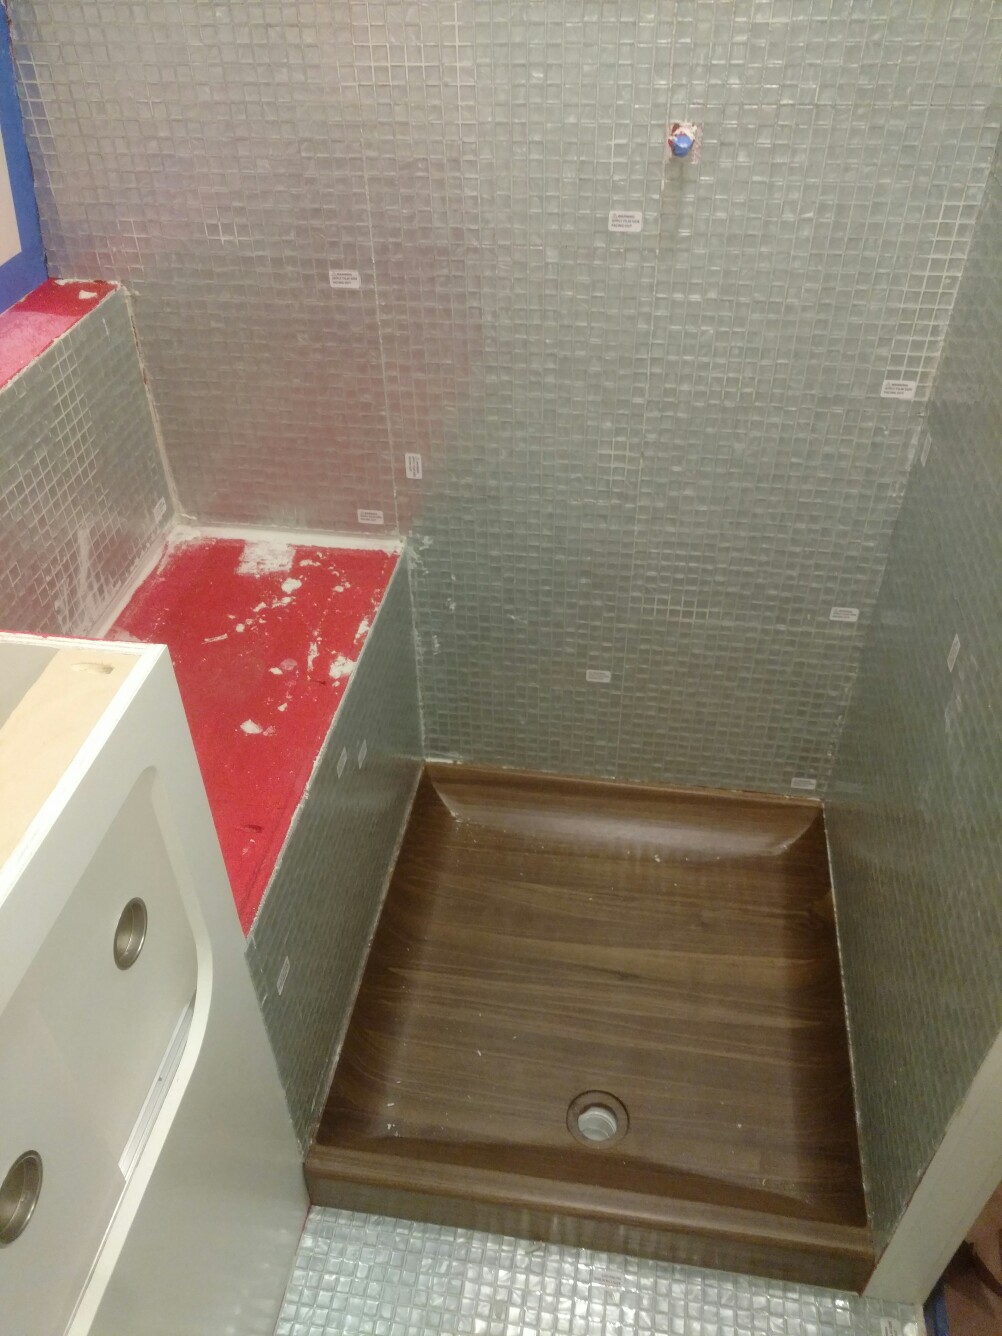
Tile in an RV is tricky business. An RV moves and flexes as it goes down the road unlike a house. So the Tile has to be able to stand up to a fairly constant earthquake scenario.
There are a few strategies we employed to make this work, the first is the red stuff. It’s a waterproof membrane that we used to coat the entire bathroom. It ensures that should water get through the grout and thinset that the wood below doesn’t get wet.
The thinset must be flexible, this is key. You don’t want your glue cracking and flaking off the wall. Same goes for the grout, it has to be a flexible formulation so that the whole thing can move as needed. Finally the tile has to be small and flexible. We used a 1×1 resin tile that’s made of epoxy and will flex, but most importantly it’s small so most of the flex takes place in the grout lines (again: flexible)
We cut a copy of the bathroom wall to layout the complex tile layup (the thinset dries fast):
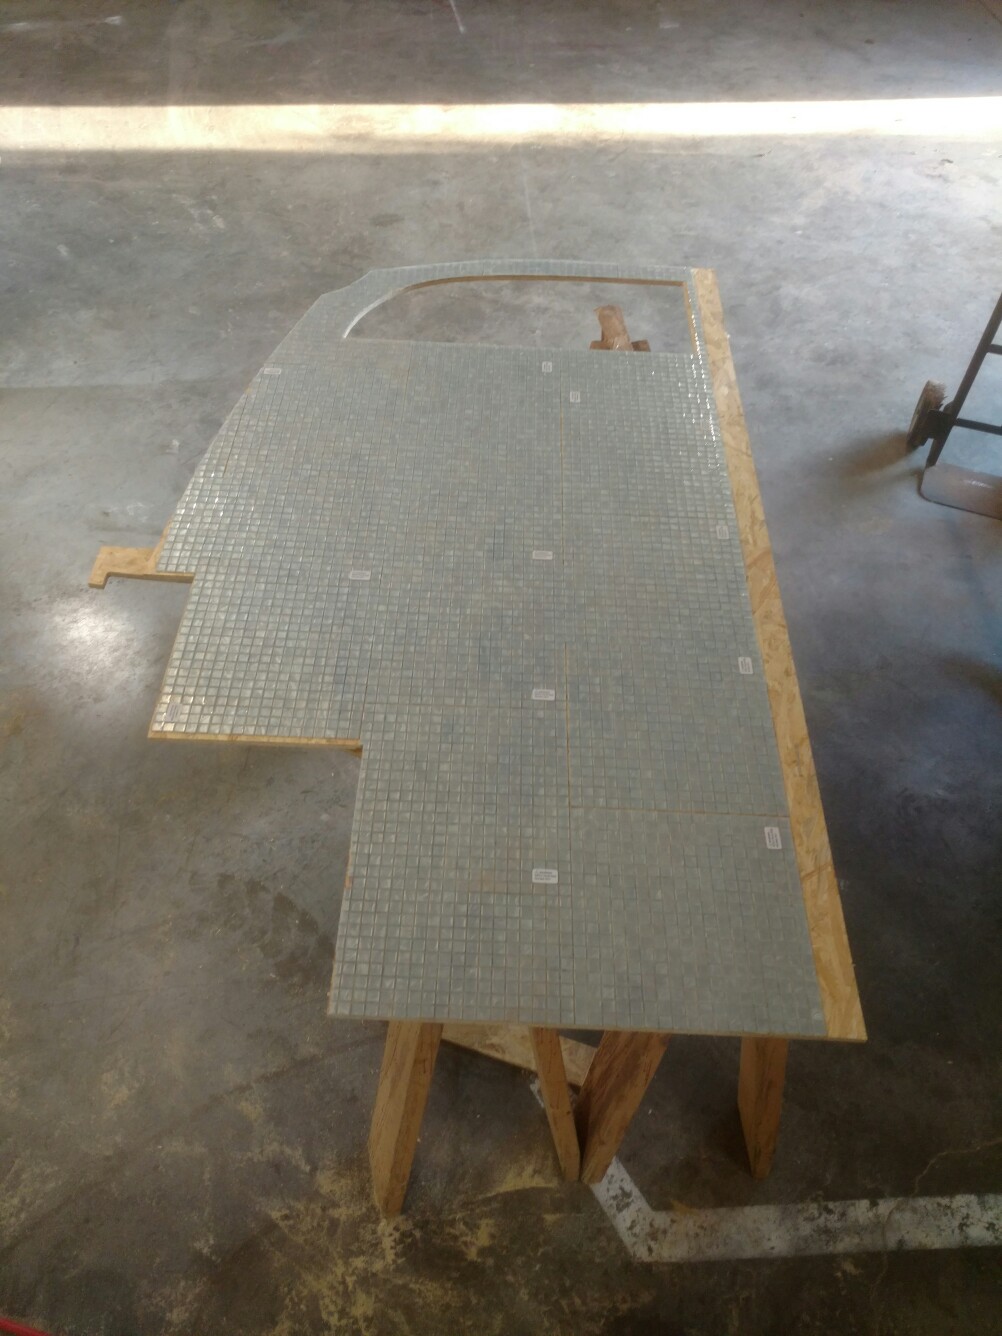
And then got to work:

And the finished Product (still needs some trim around the edges):

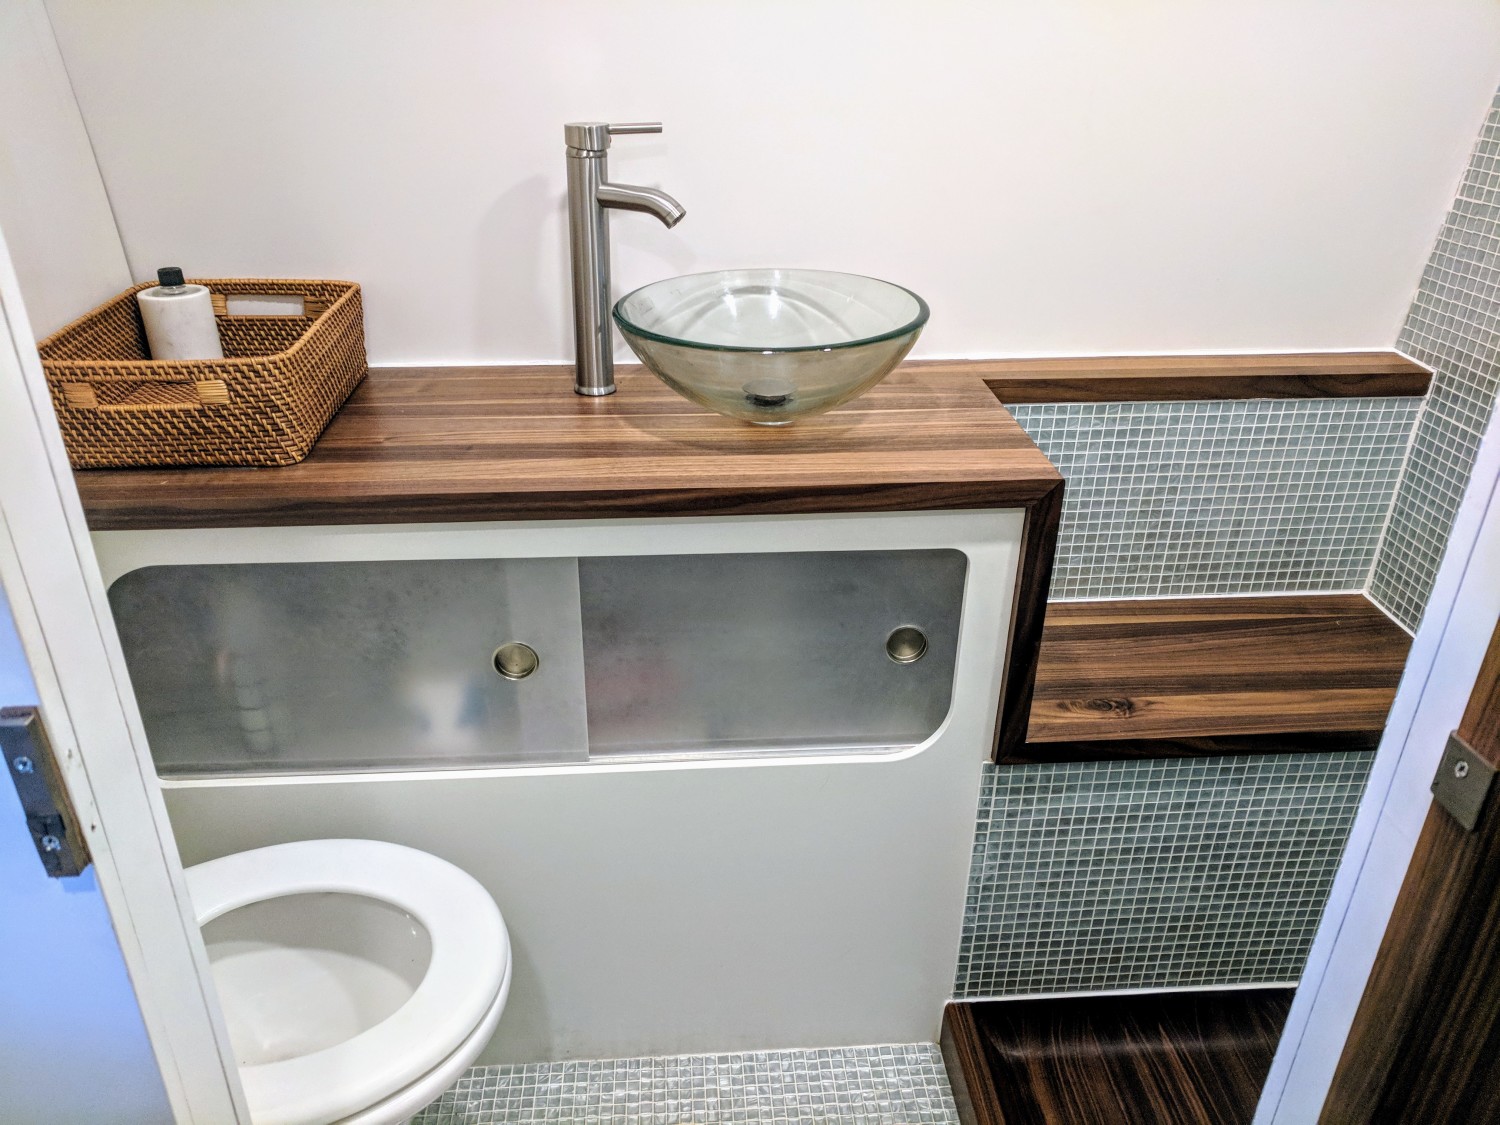
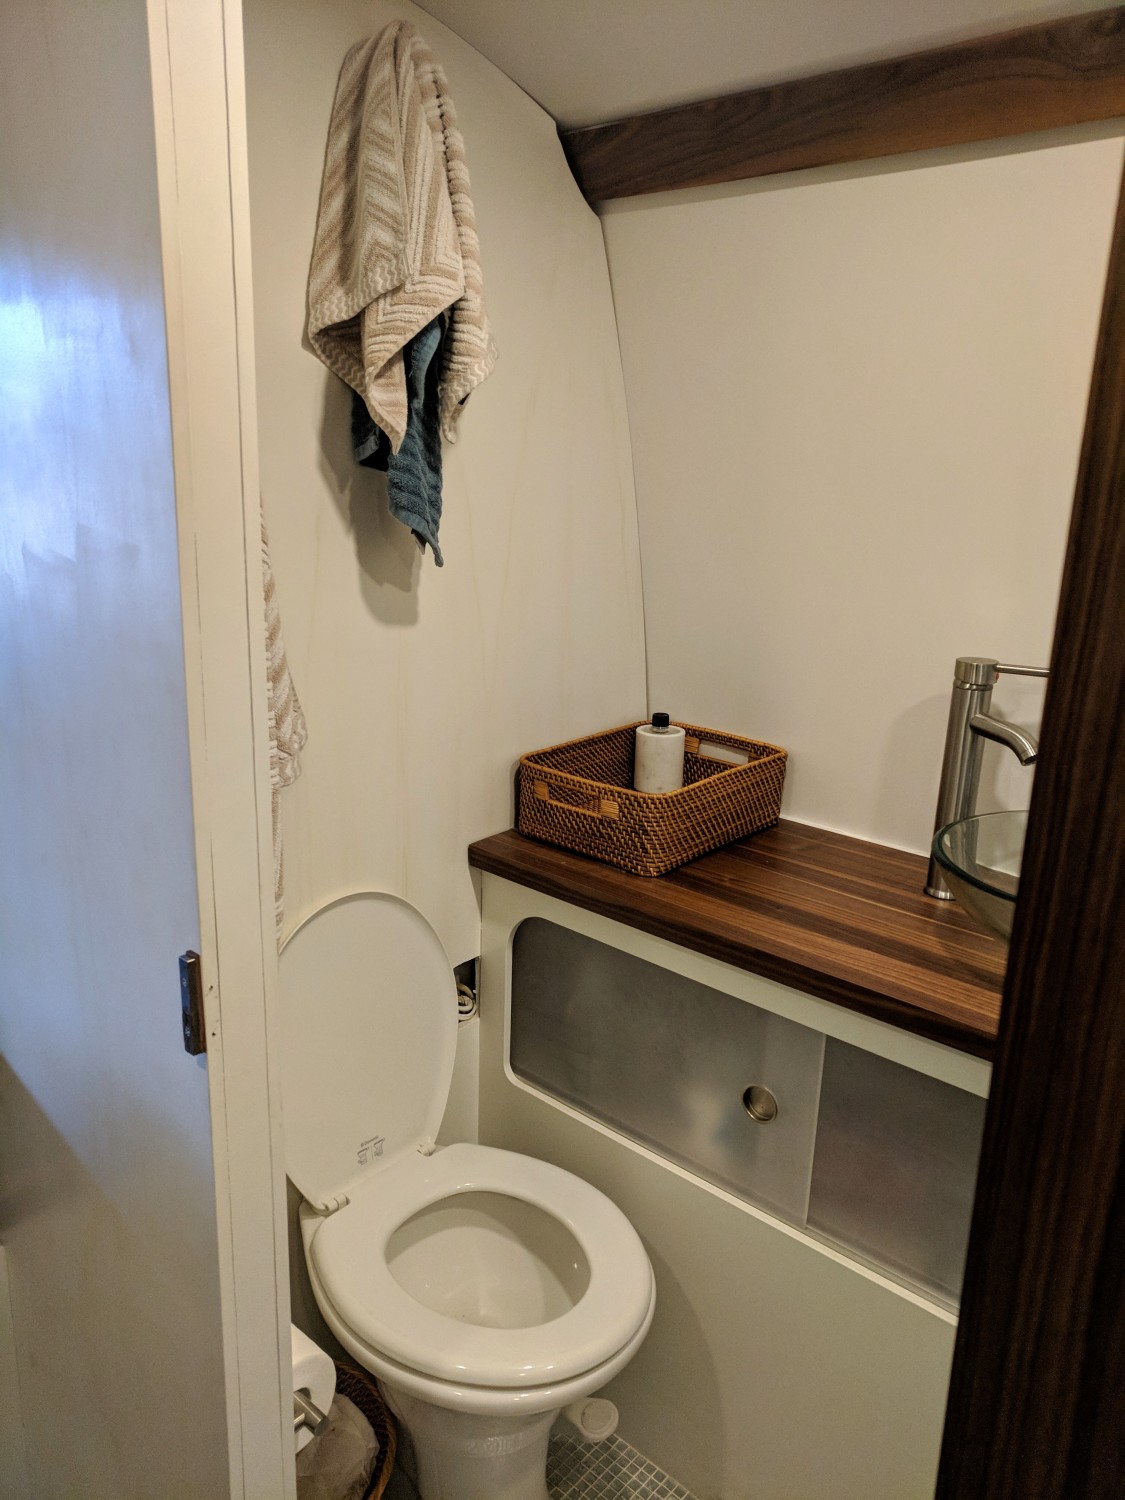
I still need to get a photo of the whole bathroom, it’s an odd shape to take a photo since it’s fairly narrow and long.
So far everything works great! I’m going to put in an acrylic ledge above the shower pan to contain a little more of the water from splashing into the floor (we don’t use a curtain) and that will be it.
A few notes on implementation:
We moved the bathroom from the passenger to the driver side, this means that we plugged all the old blackwater tank holes with NPT ABS pipe plugs and drilled new ones and installed new flanges. This works just fine, no issues at all.
We used a single Hep-VO valve instead of any P traps. This also works like a champ, no smells at all.
We went from 2 stock vents to a single black tank vent with a 360 Siphon Roof cap, again no smells works well.
Came out beautiful, we are in the same boat. We just started working on our 73 and the bathroom had to go. You have given us hope for something much nicer.
Could you tell us what a hep-o-valve is and did you use a silicone grout?
Thanks!
http://hepvo.com/
We did not, we used a 2 part urethane grout, silicone is such a PITA to work with I wanted to avoid it.
Thank you, we ordered the valve
The bathroom is beautiful. I wasn’t sure there would be other options for the bathrooms in these things. But this definitely gives us ideas. We are working on a 76 GMC Glenbrook but have yet to begin interior remodeling. Yours is the first GMC blog that I’ve found that takes a design approach that appeals to our sensibilities. Do you follow anyone else in the GMC crowd that is updating similarly (clean, modern, but still maintaining an homage to its 70s roots)?
Thanks Morinda!
I don’t know of anyone else that’s done. I know a few are in the early stages but nothing visible yet.
I LOVE IT, the larger kitchen, a normal size bed, the clean “Airstream” look, the space for the wine bottles and the bathroom – oh yeah, that does it for me!!
We totally gutted our 1976 Palmbeach, but rebuild the original set up and added a nightclub vibe. With 2 children and many guests, it still is the perfect interior layout for us. We also have a blog “GMCmotorhomemakeoverstory” (wordpress).
Would love to see your GMC in reality, so if you ever come to Europe with it, please visit Amsterdam (us)!
I am in the middle of renovating the bathroom for my 78 GMC.
What membrane did you use for the walls?
How are the tiles holding up?
Thanks for putting up all this info its been really helpful
Hey Angel,
We used Red Guard and their brand membrane in the corners and just direct paint on on the flat surfaces.
The tile is holding up well, we have had a couple pop off here and there that seem to have not been seated well enough against the grout (my fault, it’s tough to get every single one of 1000’s of tiles bedded in well). A little epoxy and pop it back in and you can’t tell it ever happened.
If I were to do it again I think I’d find a tile with a mesh backing to alleviate that problem. Issue with that is weight as the resin tiles don’t come with a backing.
Justin, Did you take any more room than the Fiberglas unit that was previously installed. I am curious as to why you switched sides. This is definitely something I would like to do.
Hey Doug, yes it’s wider and longer than the original fiberglass one.
We switched sides because we like the feel better, something about having it on the other side appeals to us, not quite sure what it is!
How much longer did you go? The fiberglass piece in mine is 48”. May I assume you gave up cabinet space?
thanks for the tip on the HEPvO. I have ordered 3 of them: shower, bath sink and kitchen.
Did you replace your sub floor?
We are in the beginning stages of an interior rebuild. We are down to the frame. Any suggestions you want to offer?
Justin very nice work.
Do you sell the shower pans as a CNC will not fit in the shop,
Thanks
KC
Hey KC,
I don’t, definitely a one off piece there, far too much time and work to make them a viable product.
Nice looking bathroom.