
Where was I?
We finished the cabinets and were ready for the finishing touches in the last post I believe so we will start there:
Cabinets out of the way it was time to move on to the fun stuff: Making it look pretty.
First order of business was countertops. We’re big fans of Butcher Block (obviously, that’s what we do for a living (Walnut Wood Works) so it was the way to go.
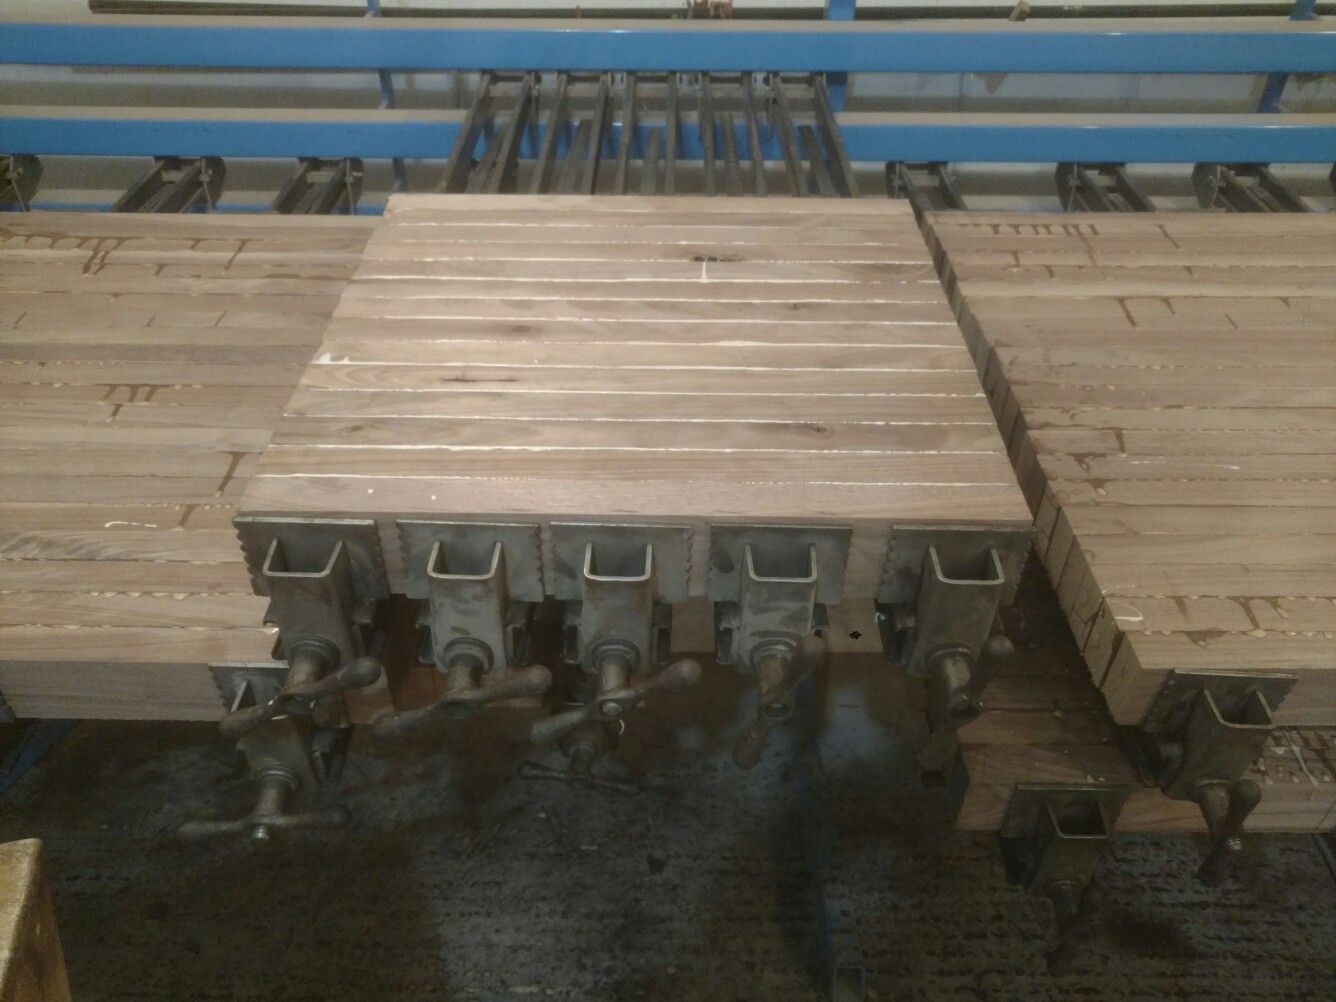
We started by gluing up some Black Walnut.
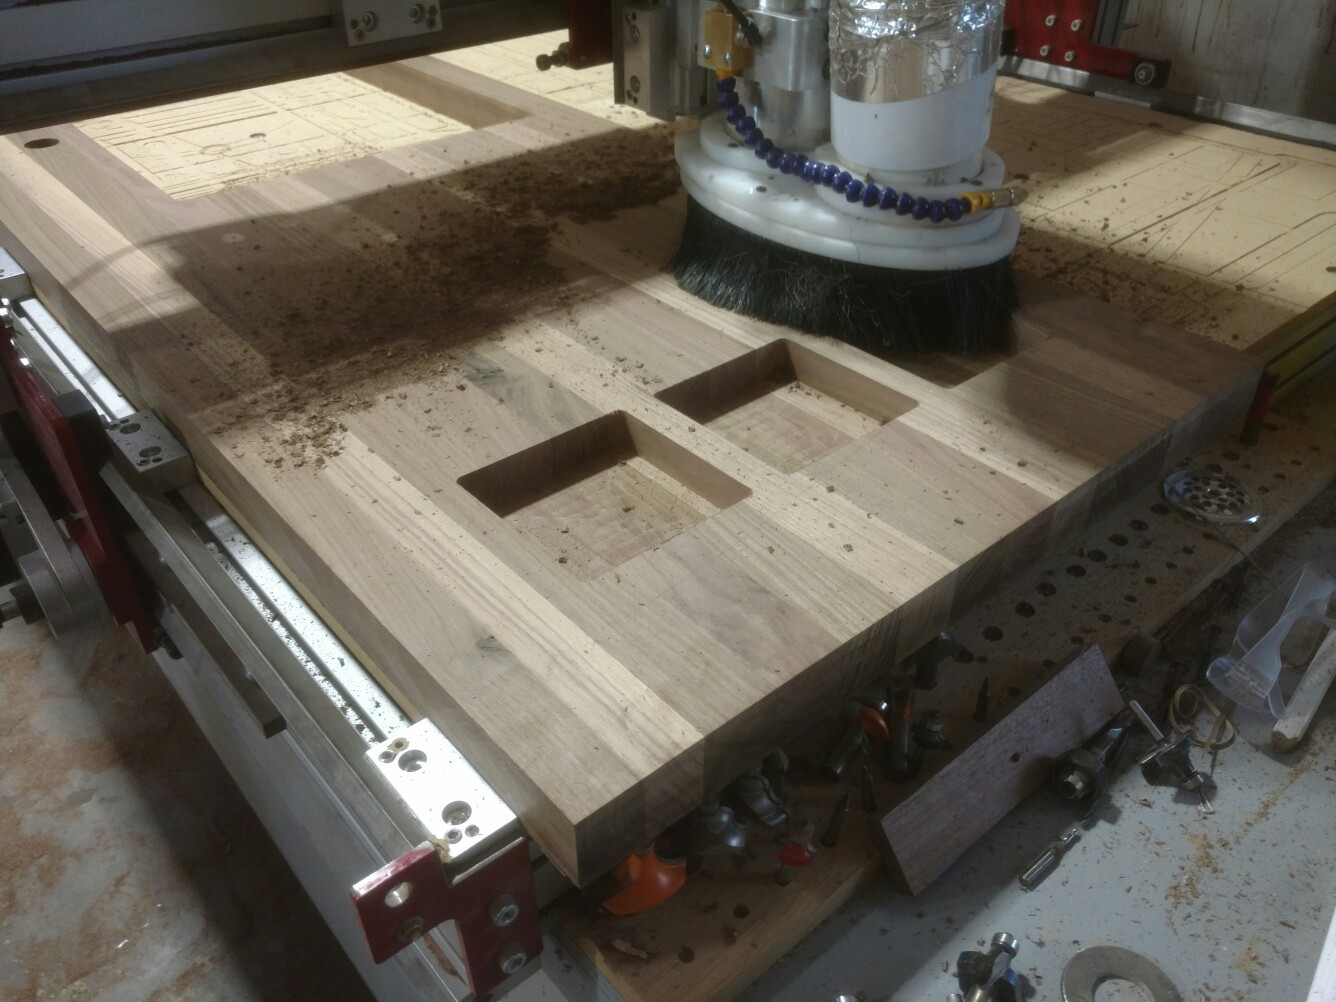
The main problem with butcher block for an RV is that it’s HEAVY. We don’t want heavy. So we took our 1.5″ thick countertop over to the CNC and Cut a checkerboard out of the bottom side. I didn’t weigh before and after but I imagine we cut the weight roughly in half by doing this. Finished product is very light, but still 1/2″ thick with reinforcement ribs left over from the hollowing at a full 1.5″ thickness.
After that it was in for a test fit:
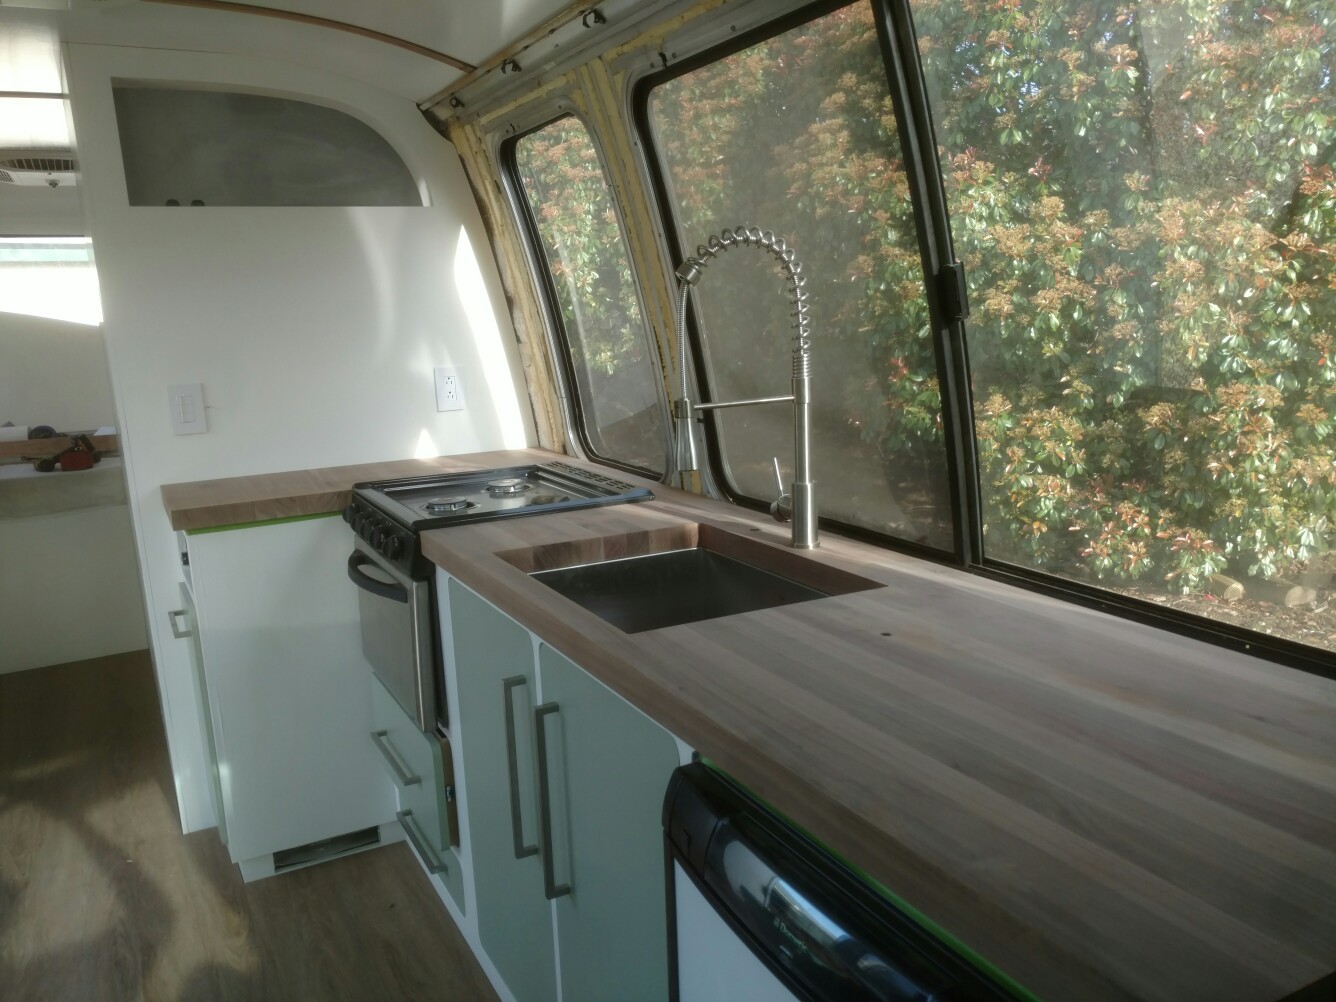
Looks good to me!
Notice that tiny little hole to the right of the sink? That’s where at the last possible moment the CNC machine decided it wanted to go absolutely batshit nuts and bore all the way through the countertop. I ran screaming across the shop and stopped it, but not before it had pierced a nice 3/4″ hole through the top. Shit.
So, as has been a kind of theme for this build we decided to embrace the chaos and do something cool with it.
Our countertops are finished in Conversion Varnish, which is a beautiful light waterproof spray finish. The drawback being that you can’t cut on it. After a lot of thought and ideas we finally decided to recess an end grain Oil finished cutting board into the countertop to cover the hole there and to make a nice work surface. It turned out wonderfully and has been a really great addition. We have a center island at home that is butcher block as well so it’s nice to have a prep/cutting/chopping surface in the GMC as well.
We’ll skip all the finishing details here, it’s pretty basic: Sand, Spray, Sand, Spray, Sand, Spray, Done.
For those interested in DIY here, we make custom tops of all sizes. We do a lot of countertops for high end tour buses for musicians, GM bus reno’s and of course homes so if you’re interested don’t hesitate to contact us. (/shameless plug)
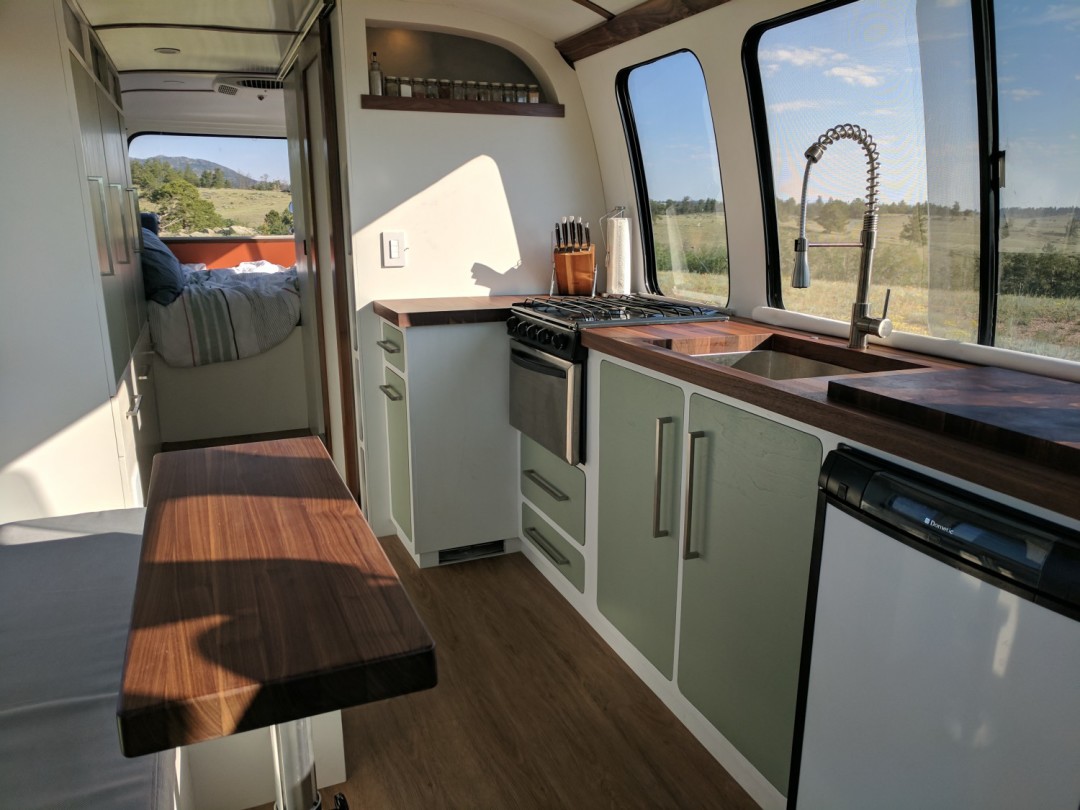
And here’s the finished product:
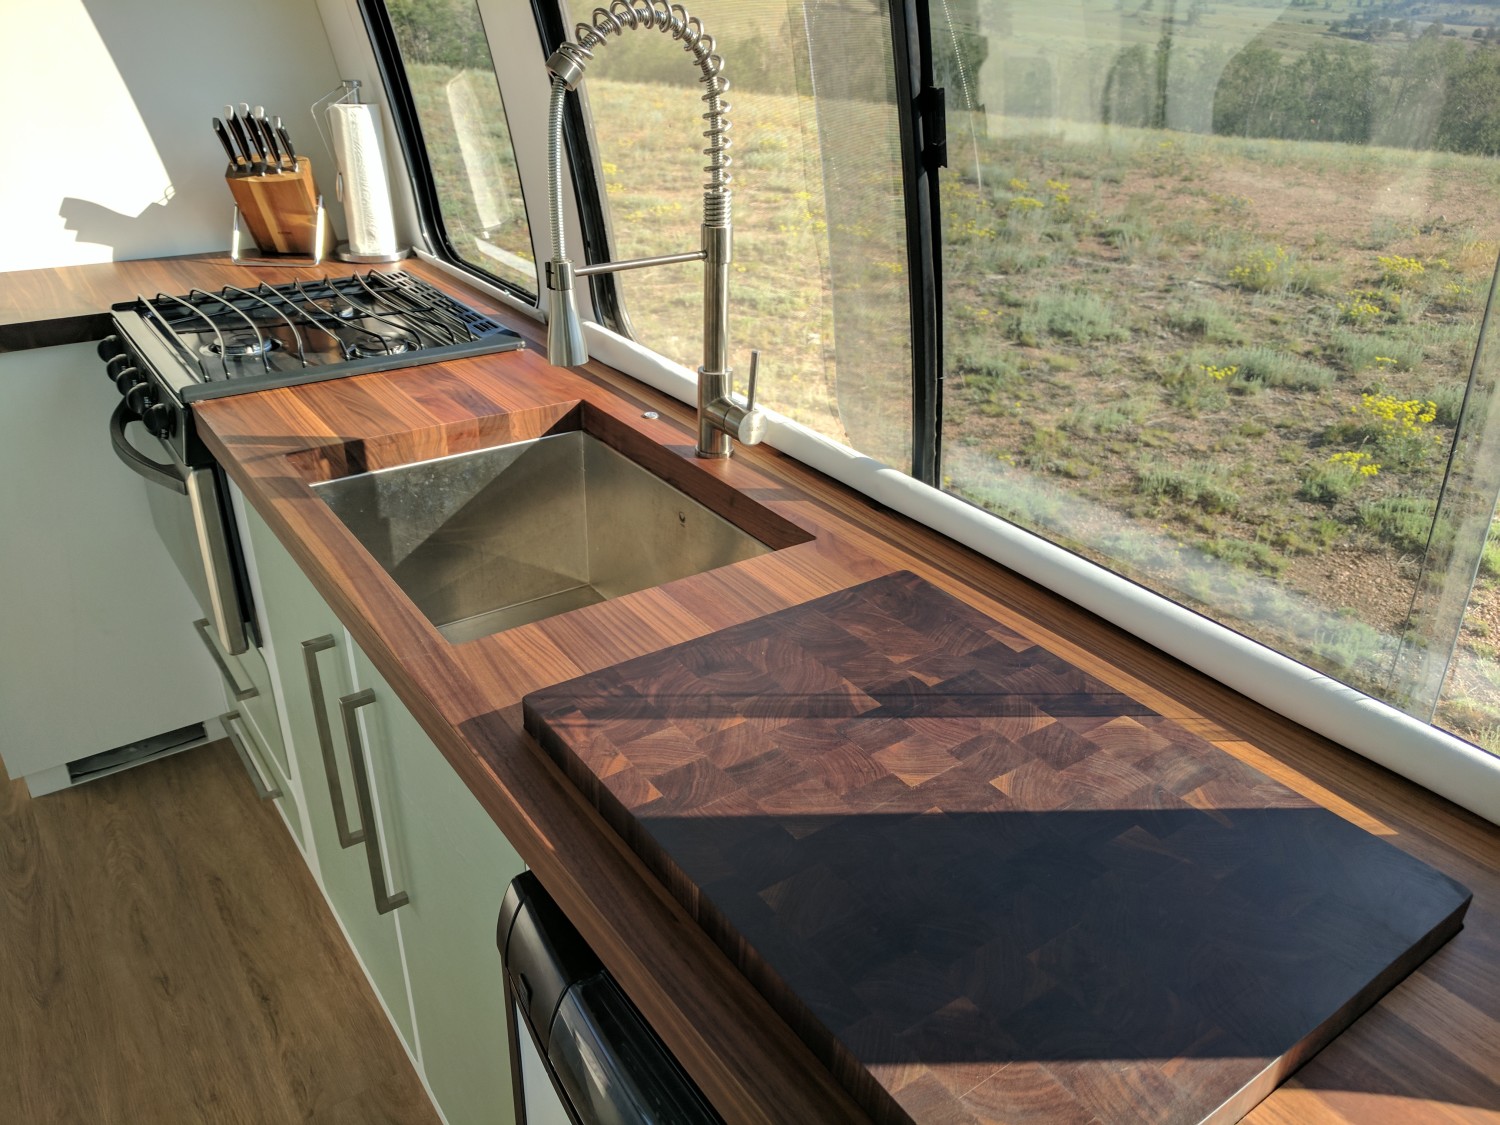
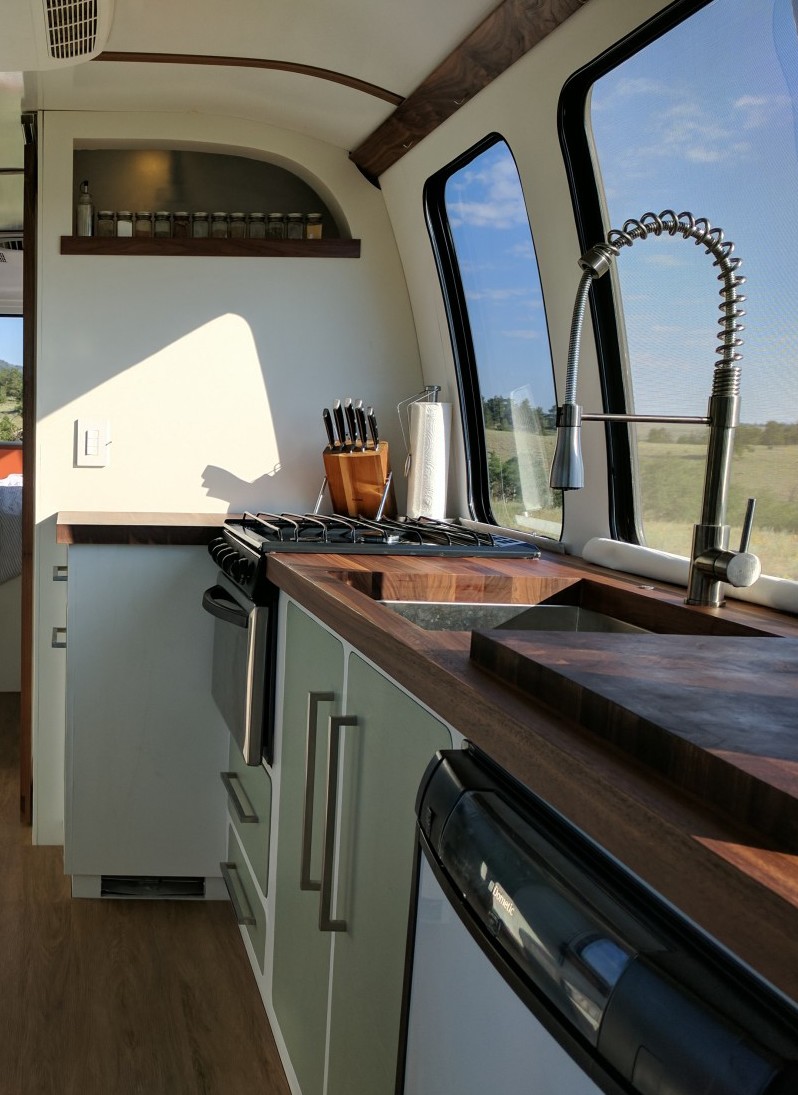
The spice holder up there in the bathroom window is also CNC cut to accept those spice holders, so they don’t rattle or fall going down the road.
I absolutely love the countertops. And that end-grain cutting board too! Keep your posts coming. You have done some beautiful millwork, Justin.
Absolutely spectacular! We have a 26′ 75 E II that we love and enjoy…just bought a 77 23′ Birch Haven that we’re considering doing some mods with in a contemporary flavor…Love your work, Maybe we’ll see you at a rally sometime
HI JUSTIN! I am proud of your work!??? Your attention to detail is truly inspiring. I like the way the windows look clean & not weighted down with curtain valances. That said, how do you maintain privacy and manage curtains?
Hey Tom,
I missed this comment somehow my apologies!
We have full blackout blinds mounted under the counters that come up through slits and clip to the ceiling when we need blinds. We have these on all windows except the windshield.
Justin, what did you use to cap the conduit lines (looks like walnut) but how did you attach it? Thx
Hey Jessica,
It is walnut (routed out in the back to fit the profile) and it’s held on by both 3m trim tape and the screwed in hook connections for the blinds.
Karen: Thanks! I’ll keep updating I’ve got several more topics to cover.
Teresa: Thank you! We hope to attend one soon, but it’s tough to juggle work, play trips and rallys.
Tom: Thanks! There are blackout blinds recessed under the countertops that pull up to cover the windows when needed. If you look behind the stove in the last photo you can see one peeking out there. The one behind the sink also pulls down under the countertop it was stuck in the photo, I later modified them to remove the clicker mechanism and it solved the problem of operating upside down.
Fantastic work! What did you use for wall paneling, and how are the panels attached to the frame? I don’t see any fasteners, and love the clean look.
I am picking up my 1976 GMC tomorrow and am VERY excited to get started on the interior renovation. (I’ve done a couple camping trailer renos already, so I know it’s not going to be easy, but ultimately will be worth it.) Yours is by far my favorite GMC renovation that I’ve found.
Love seeing the CNC work too! I run a CNC fabrication shop in LA. Where did you get the profiles for the CNC made panels? They look like they match the frame ribs perfectly.
Thanks Philip!
For the wall profiles I pulled an original wall and used a digitizing probe to pull the profile off of it. It’s a pretty complex curve with at least 3 different radii. Digitizing is the way to go.
I can send you a DXF if you’d like but can’t guarantee that it will match your curve as they are all a bit different after 40+ years.
I’d love to check out that DXF. I can adjust if necessary, and would first do a test template with luan ply anyway. Could you email it to robotmaidcnc@gmail.com ?
Hi There,
Great looking restoration. What did you do in the back bedroom?
That’s our dilemma.
Thanks.