
I’ve painted trucks, walls, boats, and LOTS of countertops but this one was more job than I wanted to take on!
I randomly met a guy who happened to own a custom shop that loves doing oddball jobs like this. After this experience they are not interested in doing any more (sorry guys!)
We made the 5hr drive up to the paint shop and left it in their capable hands. This is not easy for me! This is the only thing on the whole coach we outsourced, so the lack of control drove me NUTS for the 4 weeks that they had it.
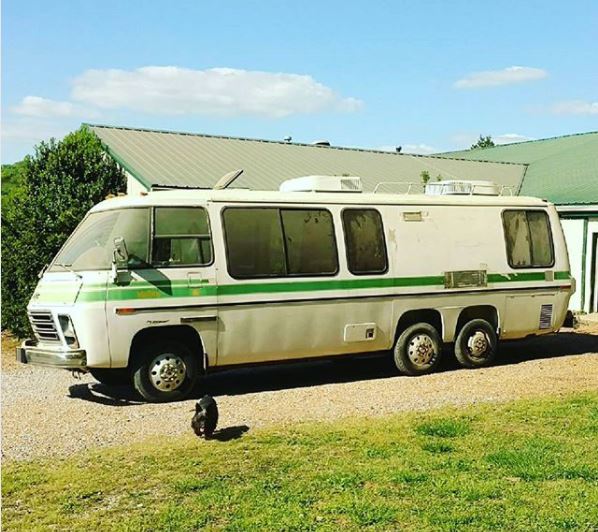
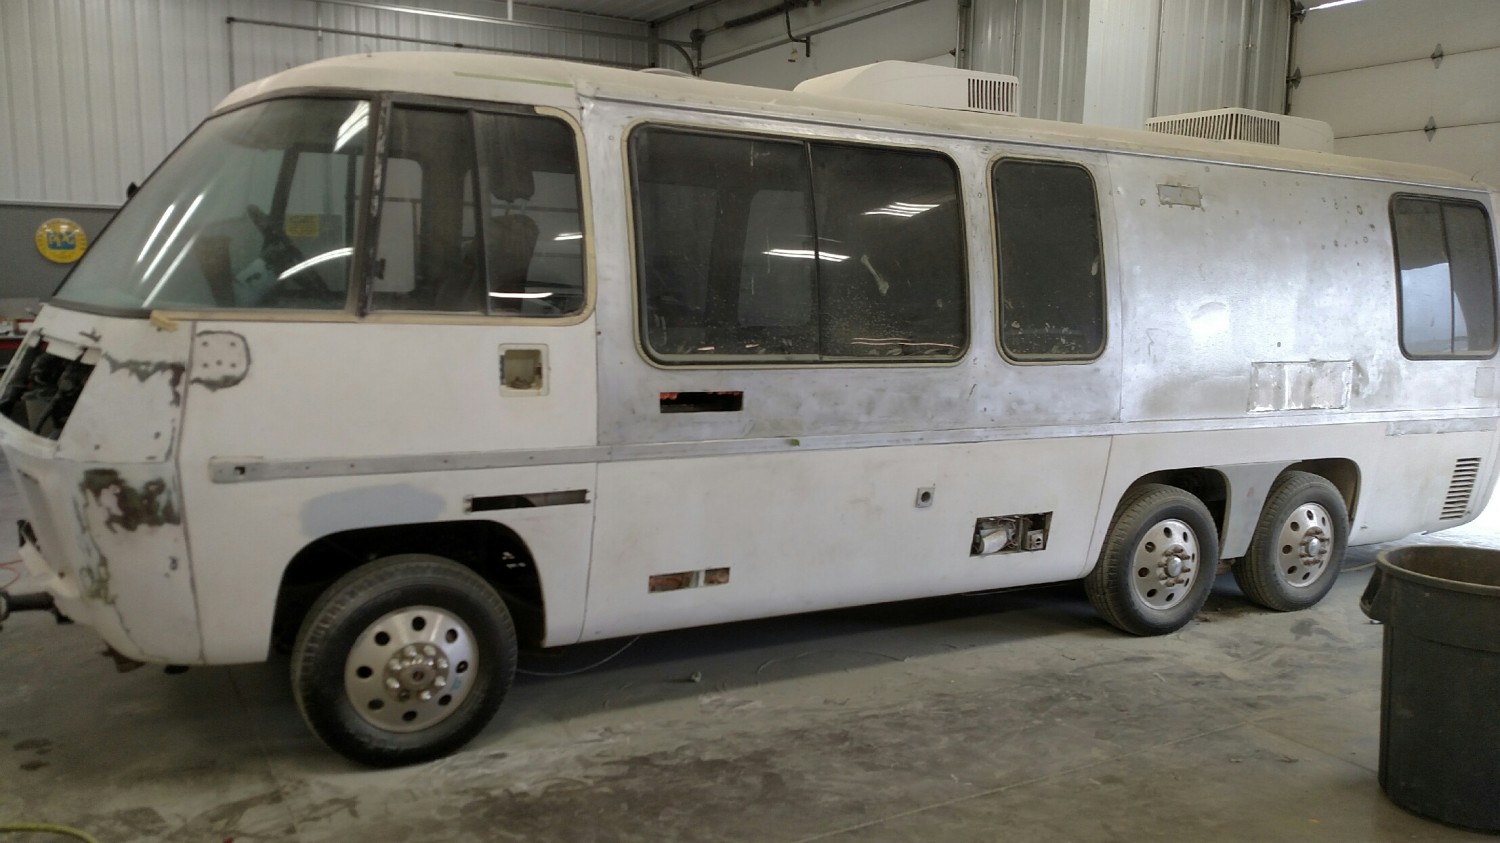
And a little before action:
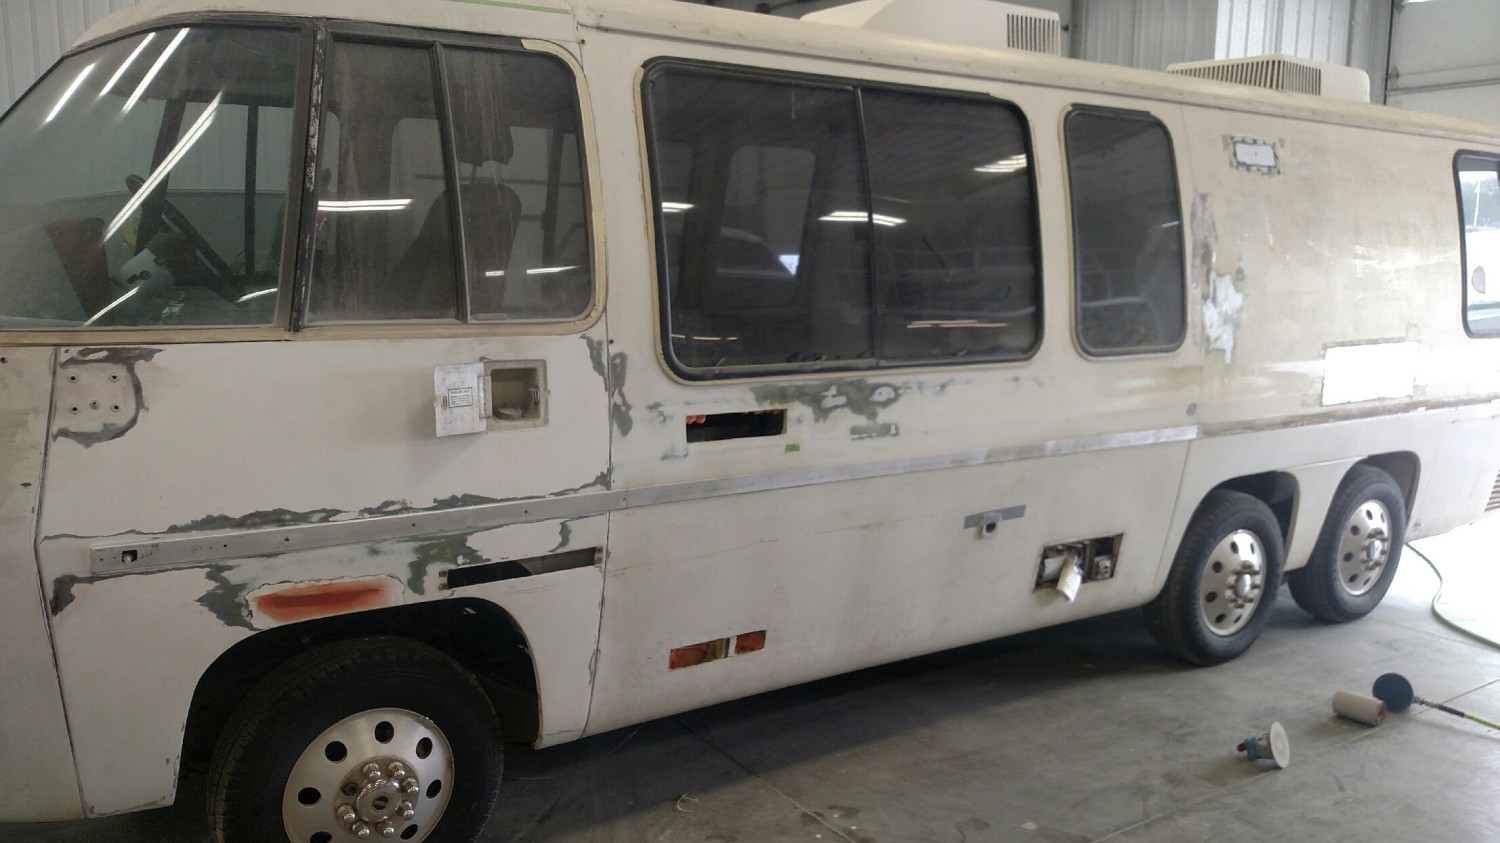
Here you can see some of the body work, we moved the refrigerator under the counter, removed the stove vent hood, moved the electrical cord to a quick disconnect in the rear and the water fill to city water connection (also on the rear panel). That meant that we needed to patch some massive holes in the body. To do this we used 3m Panel Bonding adhesive and adhered a piece of 16ga aluminum to the inside wall with about a 3″ overlap in all directions. This leaves a recessed filled hole (as seen in the above photo). From there it’s back to the panel bonding adhesive. Another sheet of 16ga was cut to fit perfectly, curved on an english wheel to match the body contour and then adhered to the interior piece with rivets and 3M PBA. The rivets were removed when dry and ground flush the whole repair was then sanded flush with the rest of the body for a seamless super strong repair.
The basic plan was to scuff the old paint and clean it up, patch any issues and paint. No problem!
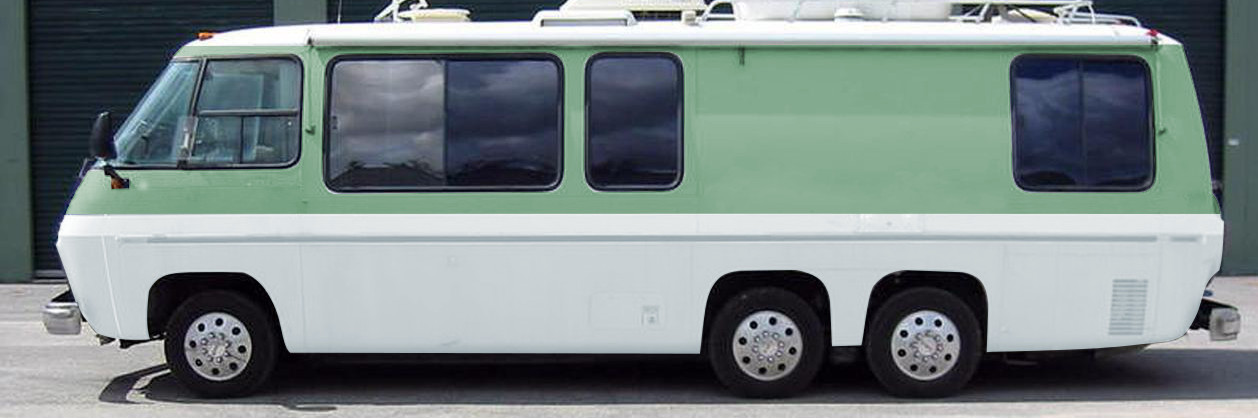
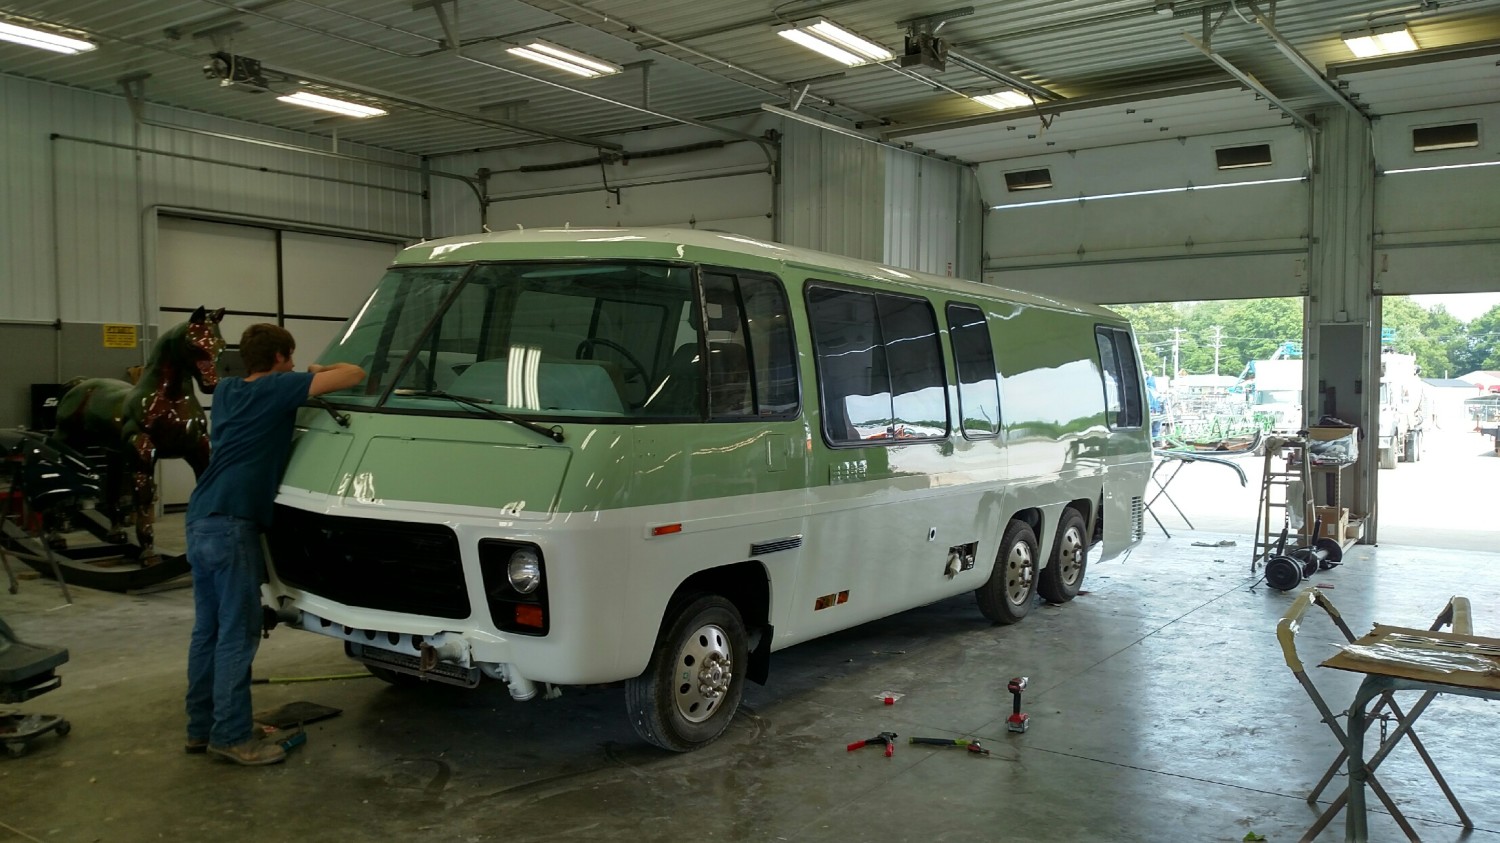
I dropped it off with a paint chip and a photoshop mockup. We wanted to stick with our theme of retro-modern so we went with a light 70’s green but with some gloss and a hint of blue to it to give it a more modern color scheme
3 or 4 days later I got the call. The original paint was too far gone, what did I want to do?
I expected this, I’d been working on it for a year I knew the paint was crap. They were confident that it was salvageable but ultimately I knew better so I said STRIP IT!
And off they went.
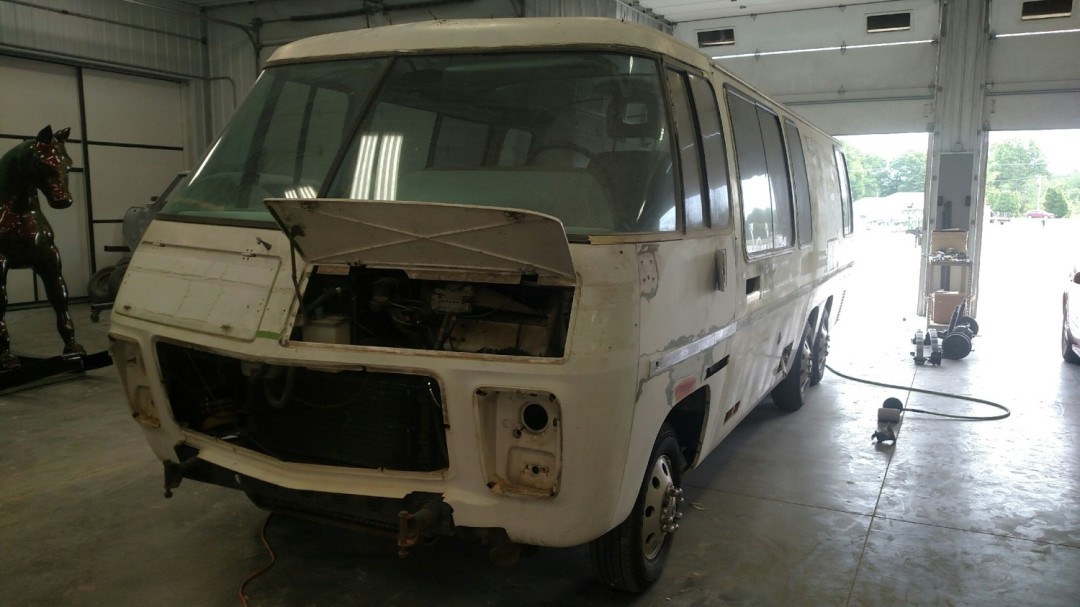
2 straight weeks of 2 man 8hr days ended up with:
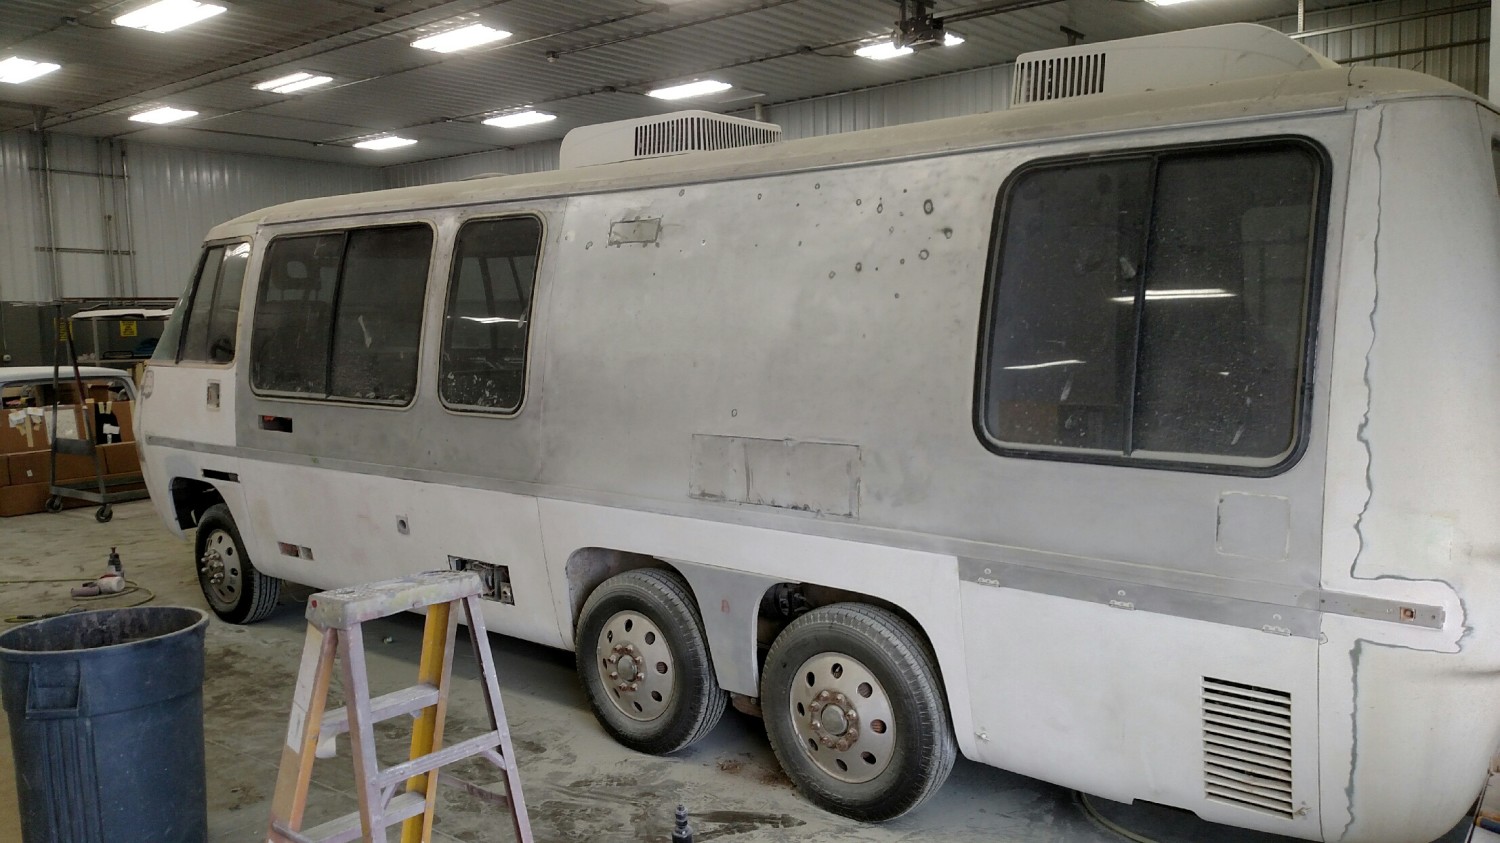
We ended up taking it down to bare aluminum and SMC and starting 100% from scratch, which was fine by me because now I Know it was done right and I don’t have any nagging worries about the quality of the underlying paint screwing up my fresh stuff.
After 4 long weeks we got the call that it was ready:
In all of her glory:
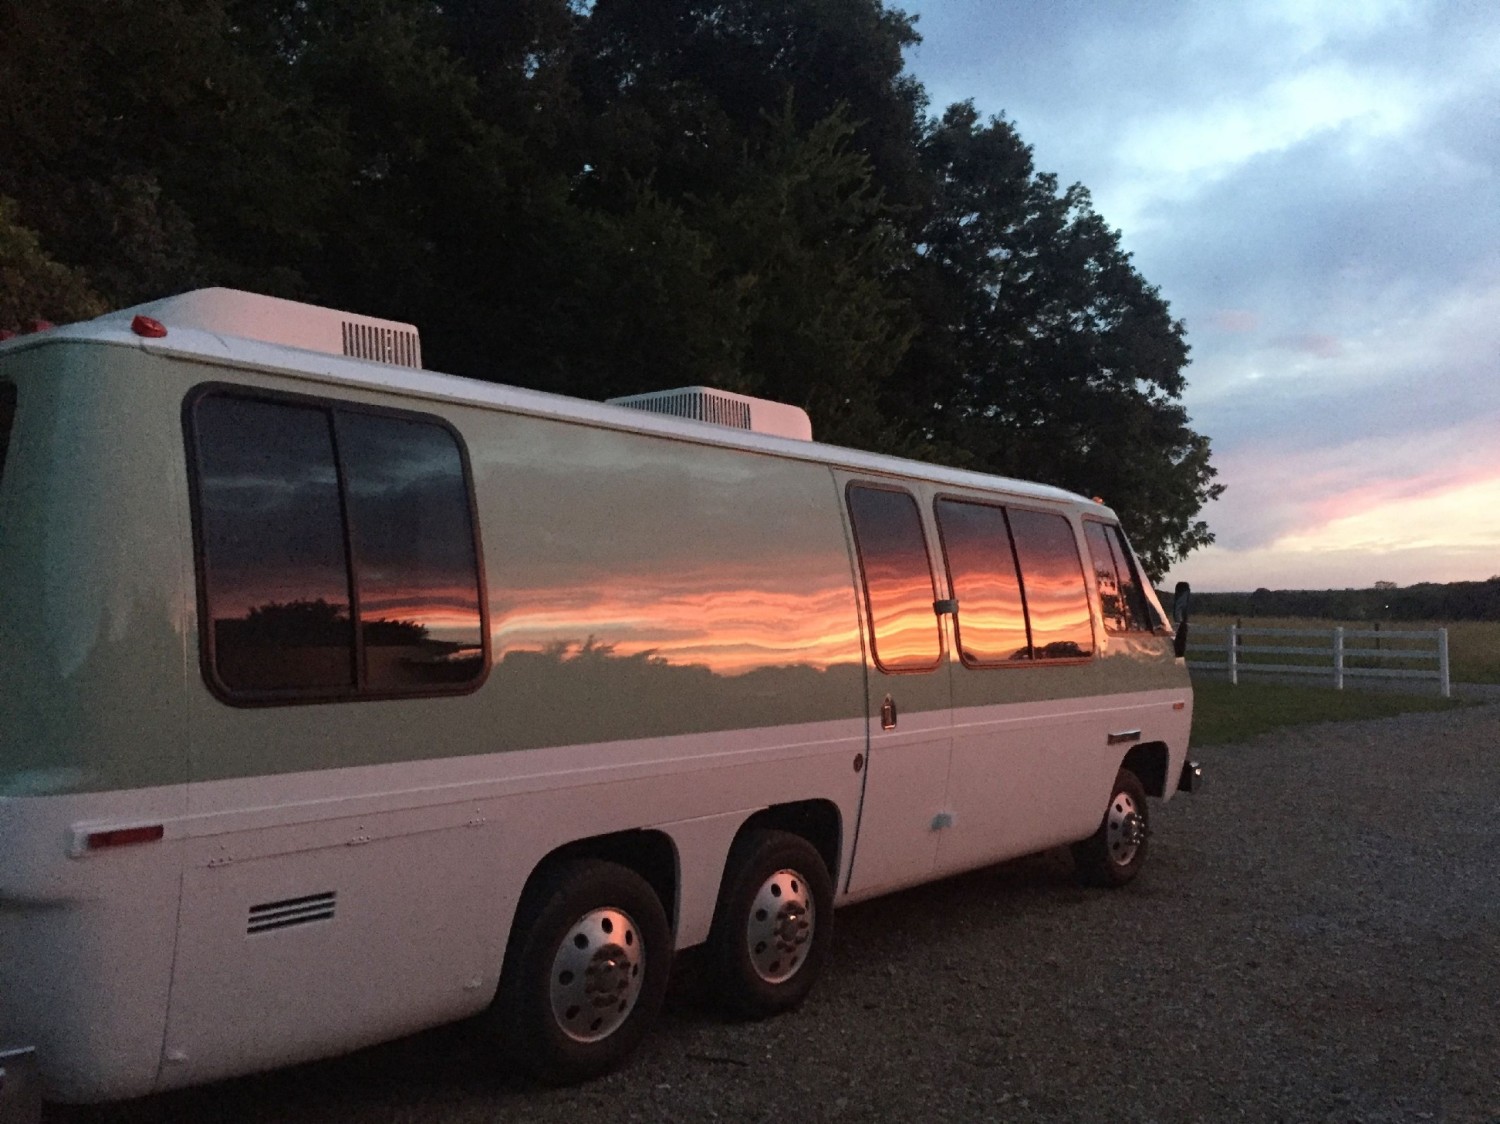
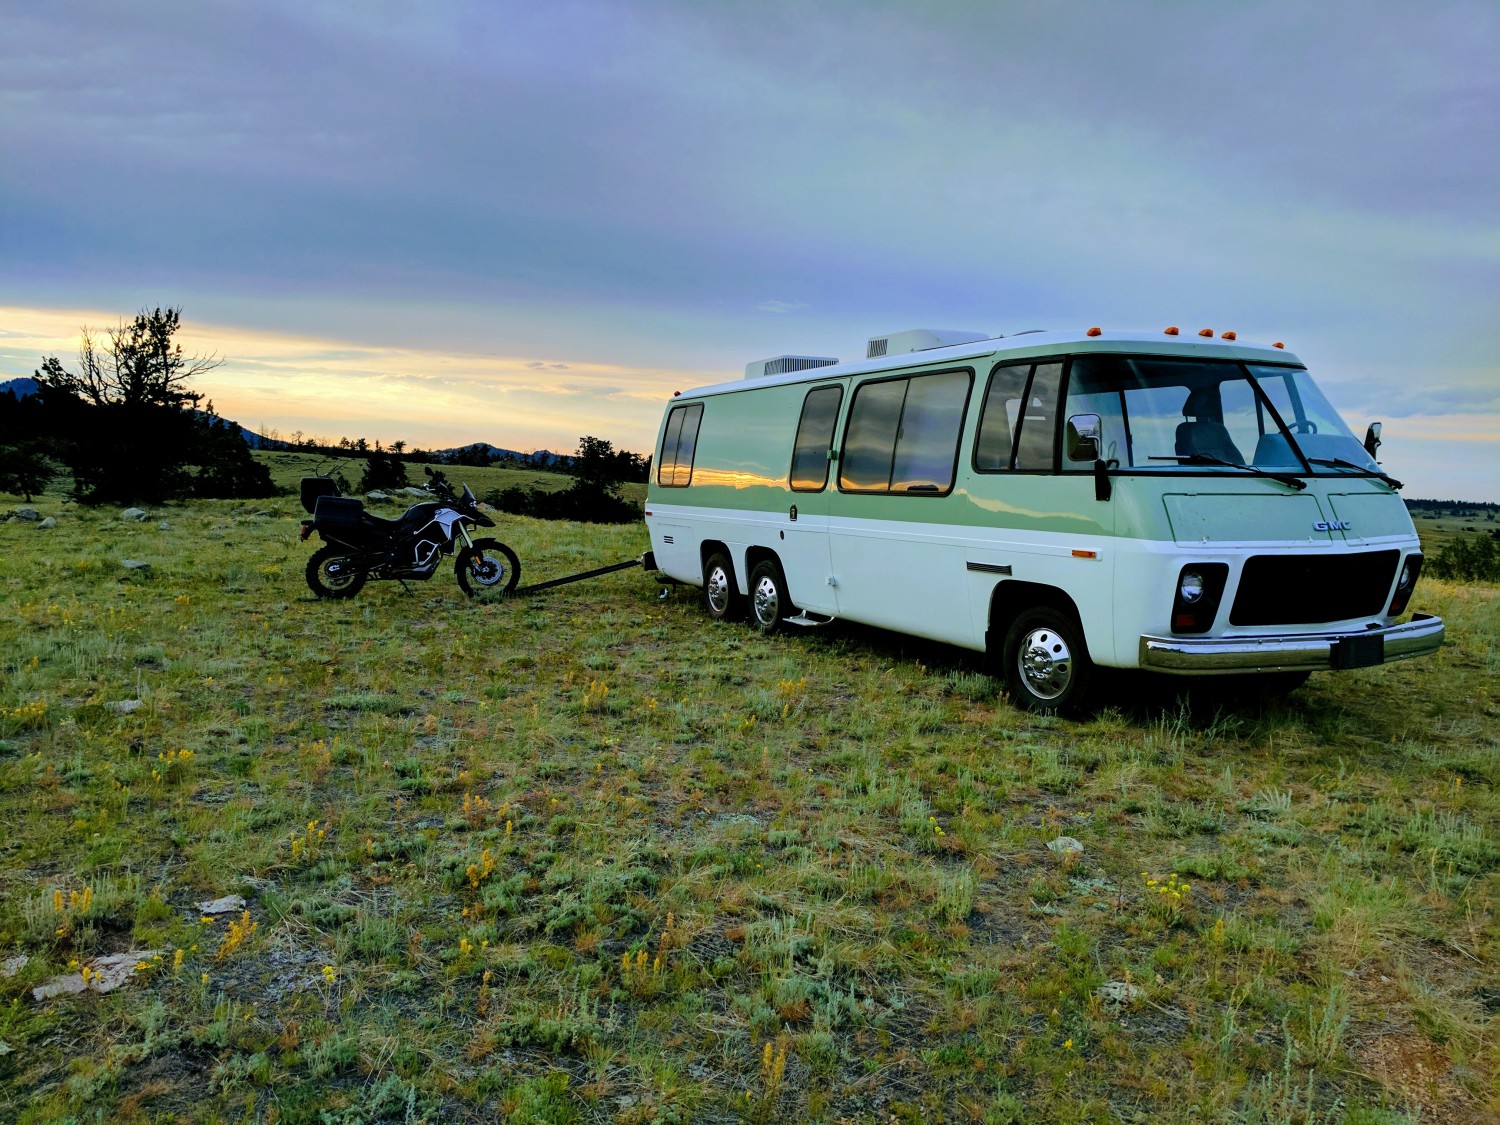
We are thrilled with how it turned out, it looks great all around.
Some thoughts on others painting a GMC:
Make sure your shop is aware of how big a job it can turn into. My guys were great, but I can see it being an issue with other shops.
Expect to spend 10K minimum for a decent paint job. 15+ for a good one unless you get lucky and find just the right shop.
Use high quality paint, the paint to paint a coach this size should run anywhere from 1500-3K by itself. Don’t cheap out here!
Gorgeous. Is this it? Everything is done to your liking now? How about a wrap-up post? Or maybe a post to show us what you have been doing with it this summer?
Congratulations on such fine work. You have admirers worldwide.
Beautiful! This was posted 3 yrs ago. Have you done anything with the Motorhome since this was posted? 🙂