We bought our GMC in mid April of 2015. That means by the time we started working on it it was mid summer.
Mid Summer here in middle Tennessee means hot. 95+ generally.
We learned quickly that the 2 AC’s were a must, and that even blowing full blast we were barely able to keep the coach cool in the sun.
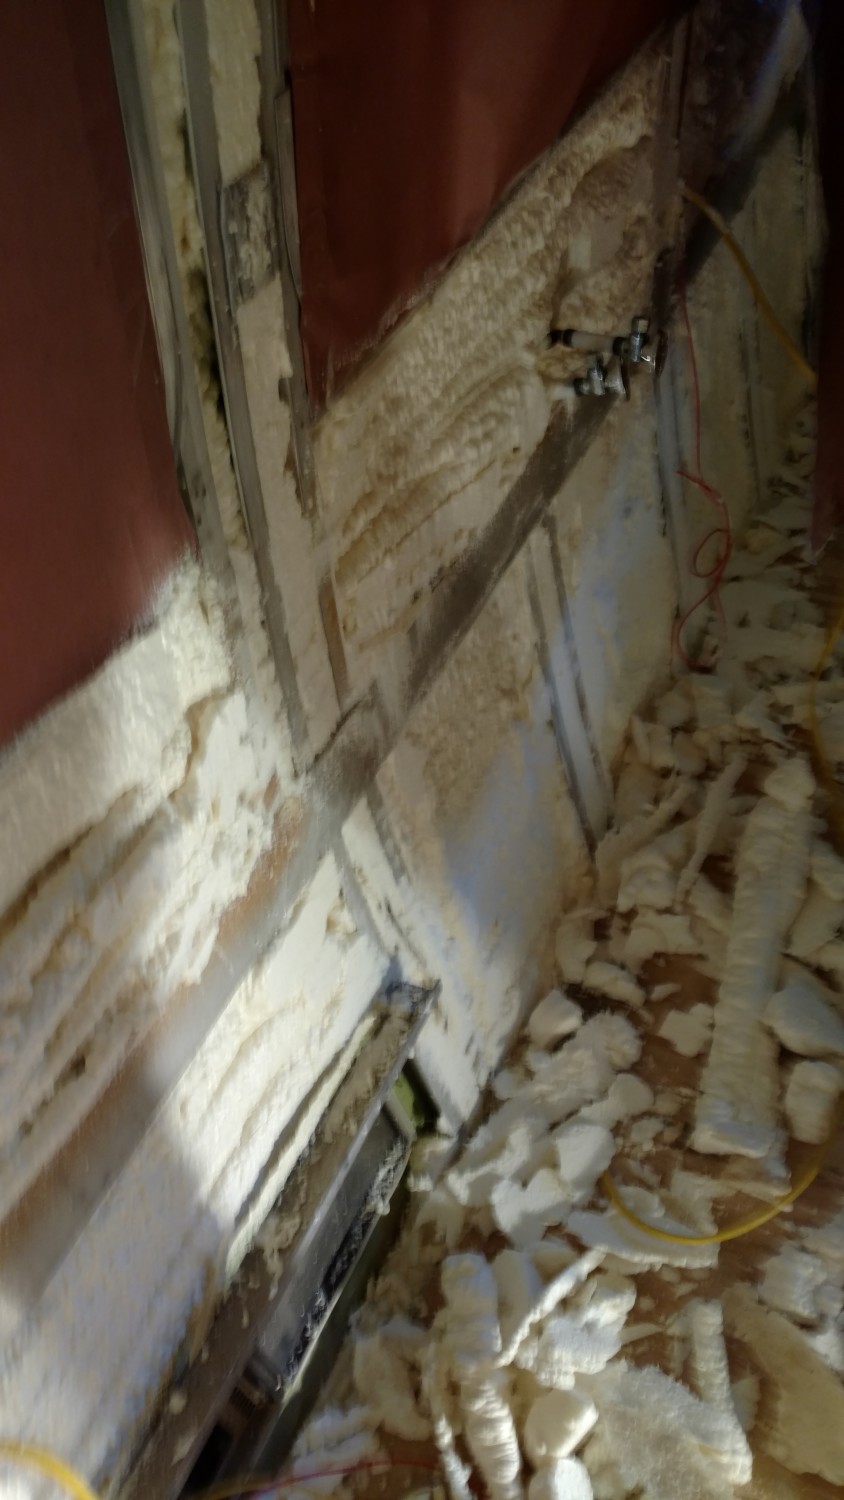
It quickly became apparent that we had a heat loss (cool loss?) problem. As I started removing panels it became fairly obvious what the problem was. The guy who did our insulation at the GMC factory was either drunk, stoned, or just a lazy bastard. To say it was poorly done would be the understatement of the week or sure.
In the large areas it was not too terribly bad when you looked at the dead center of the panel, except nowhere was it more than an inch or so thick. The real problem was in the smaller panels, and on the edges of all the panels. When spraying, our genius GMC worker sprayed a layer in the middle, and because he didn’t want to have to clean off or trim back any overspray just didn’t spray ANYTHING near the edges. We were at bare aluminum in a lot of spots. This is a big no no as far as insulating goes and almost negates the point of having any in the first place. Add this to the fact that there’s about 1.5″ of space and the average thickness was about 3/4″….
After gutting the interior and having a look another executive decision was made. We would take it ALL out and start fresh.
So now the million dollar question: How the hell do you get all the old stuff out?
The answer is simple, the right tool, blood, sweat, and quite a few tears.
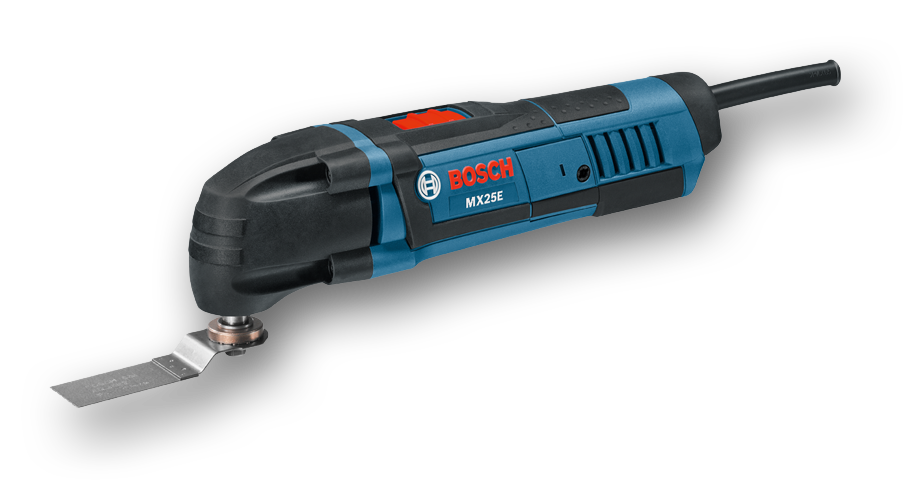
I started off on everyone’s recommendation with an oscillating tool (GMC tool) as seen to the left. While it does a semi acceptable job of removing the foam it just does so at an insanely slow pace, after burning one up and spending several hours to remove a tiny portion of the insulation I decided there had to be a better way.
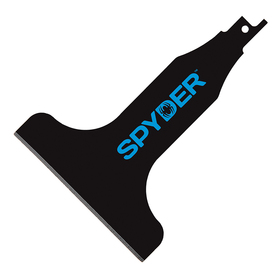
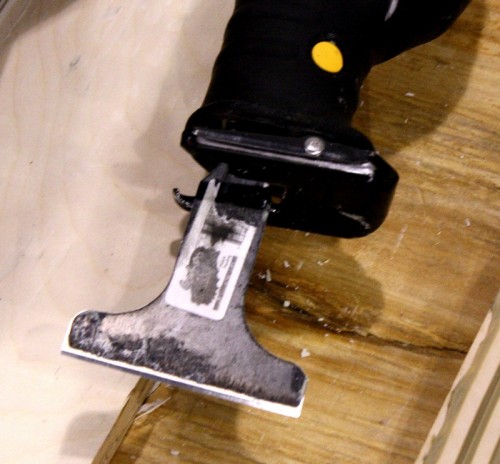
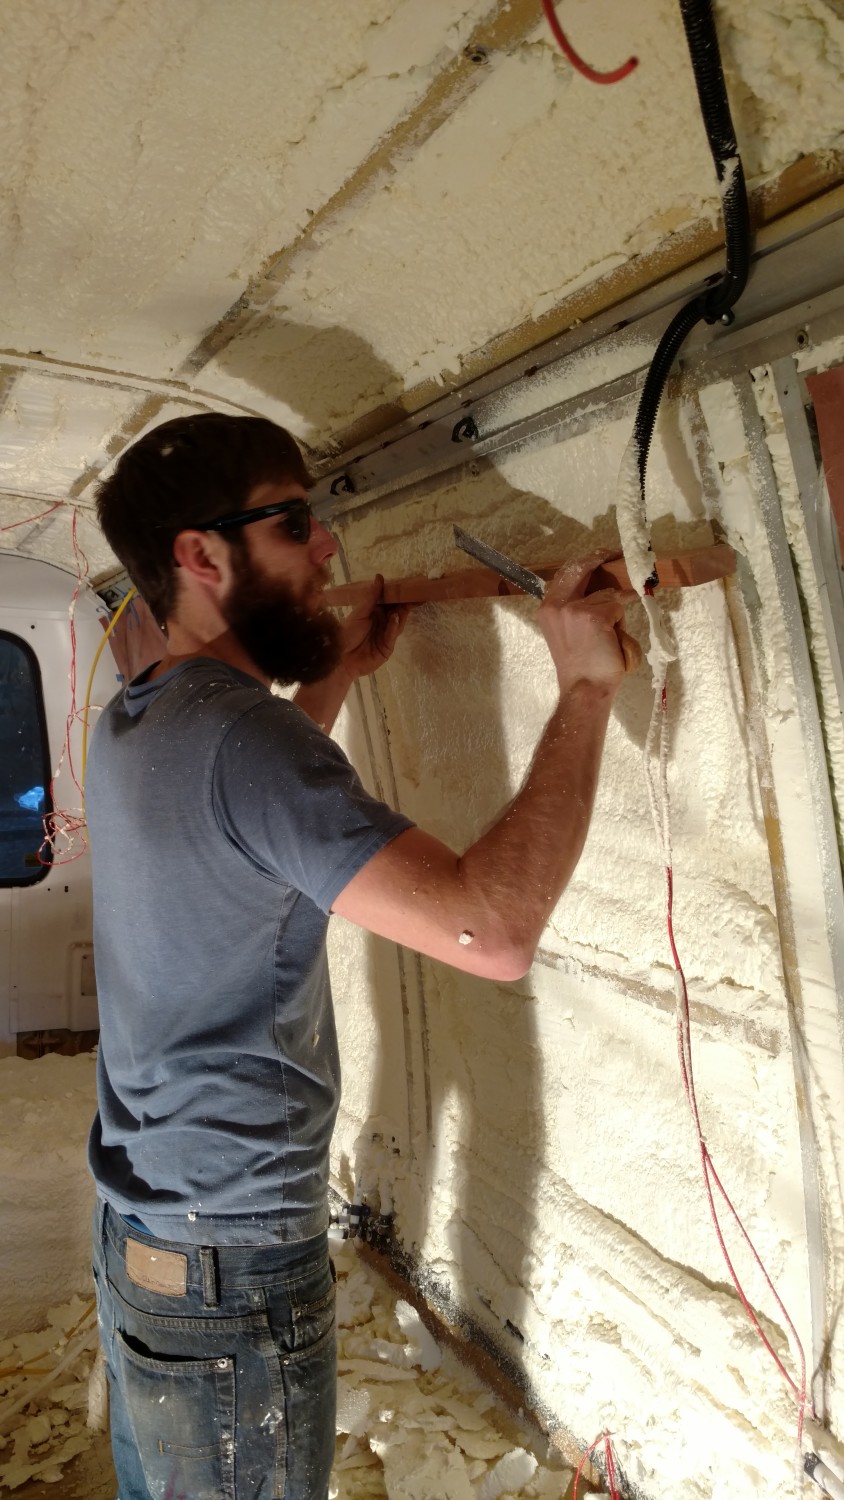
After rummaging through the toolbag I came up with a scraper attachment for the sawzall. It’s made for removing tile and anything else that’s been glued down. NOW we’re talking. It makes quick work of the insulation, but it’s heavy and when trying to work over your head for several hours at a time very physically taxing.
In the end it took me probably 6-8 hours to remove every last speck of factory spray foam. While only taking 6-8 hours total it really took more like 6-8 days because it’s really hard work, and very unpleasant work. It was done in small stints.
My recommendation: Do NOT do this. I’ll explain momentarily.
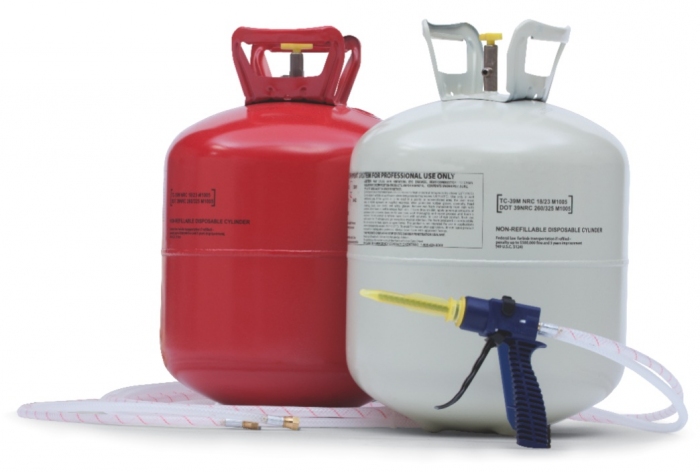
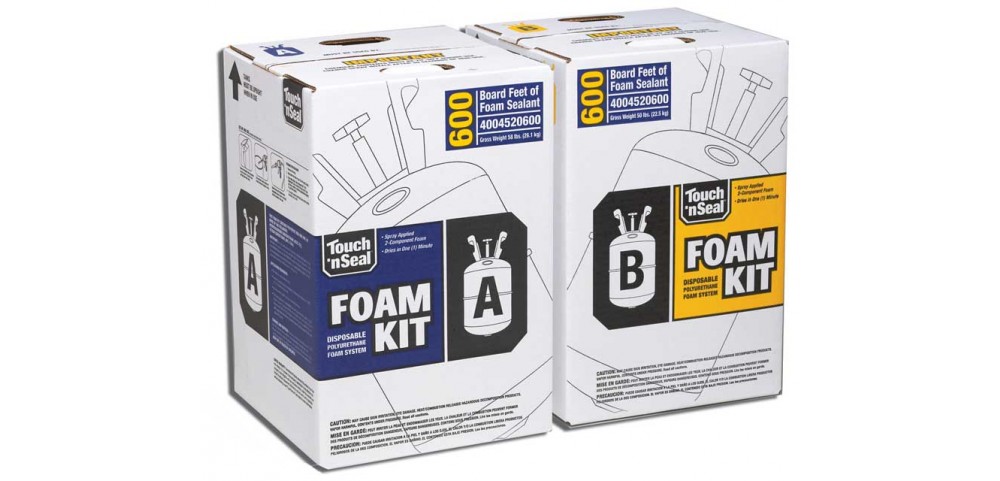
I decided to go with Touch-n-Seal spray foam insulation. There was no consensus on how much would be needed, but I can tell you after doing it that a 600 bdft kit is enough, with a little left over.
The biggest thing with spray foam is READ AND FOLLOW DIRECTIONS. I know as builders/remodelers/tinkerers/guys we don’t like to do that, but in this instance it’s imperative. The canisters have to be stored above 70F for a few days before spraying, the tip has to be lubed, the gun has to be cleaned, the gun must be attached hand tight and 1/16 of a turn tighter with a wrench….you get the gist. Read the damn directions.
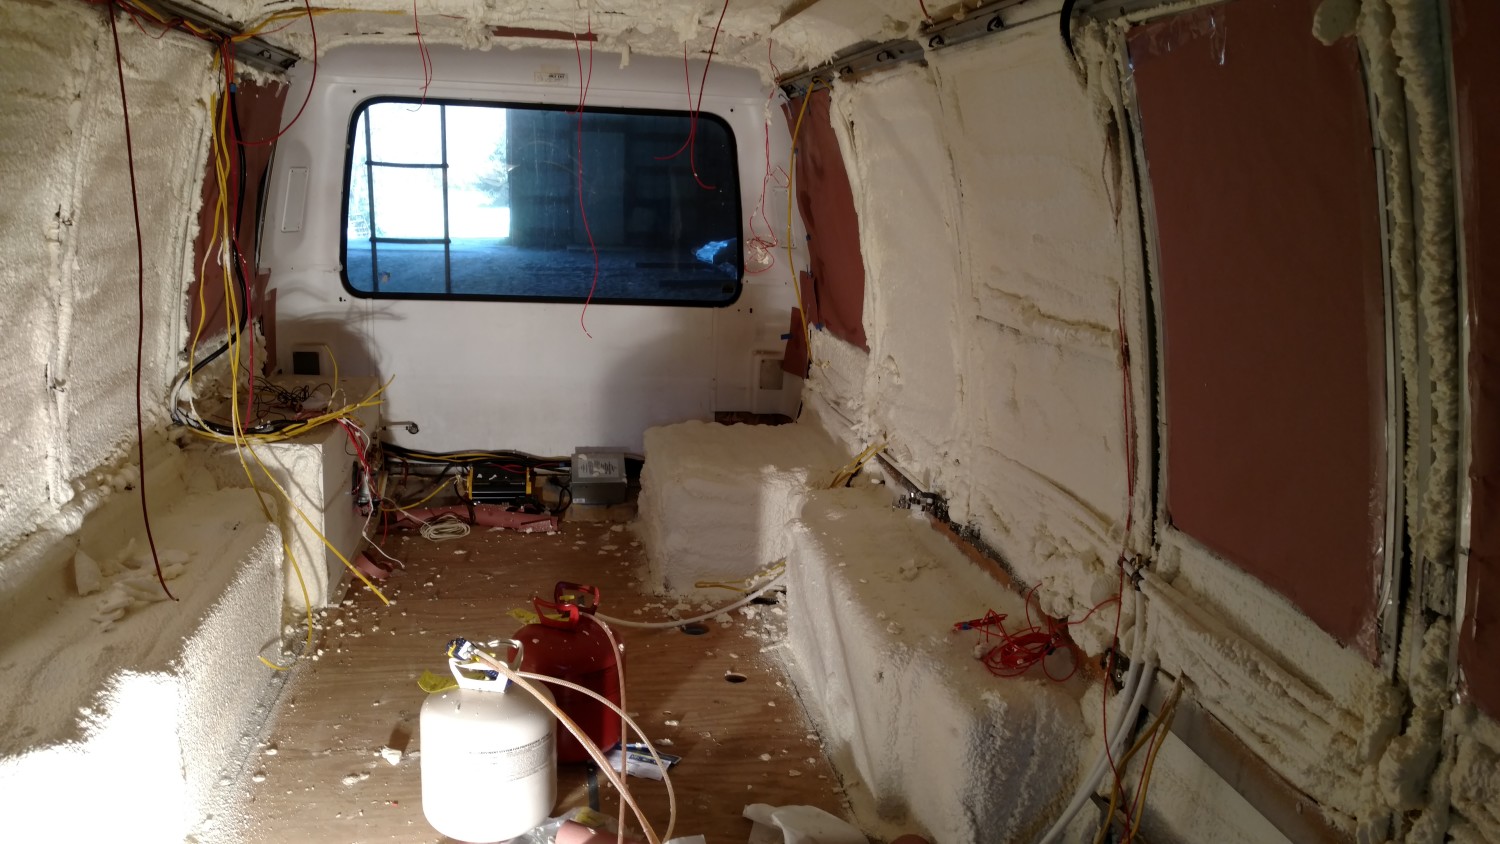
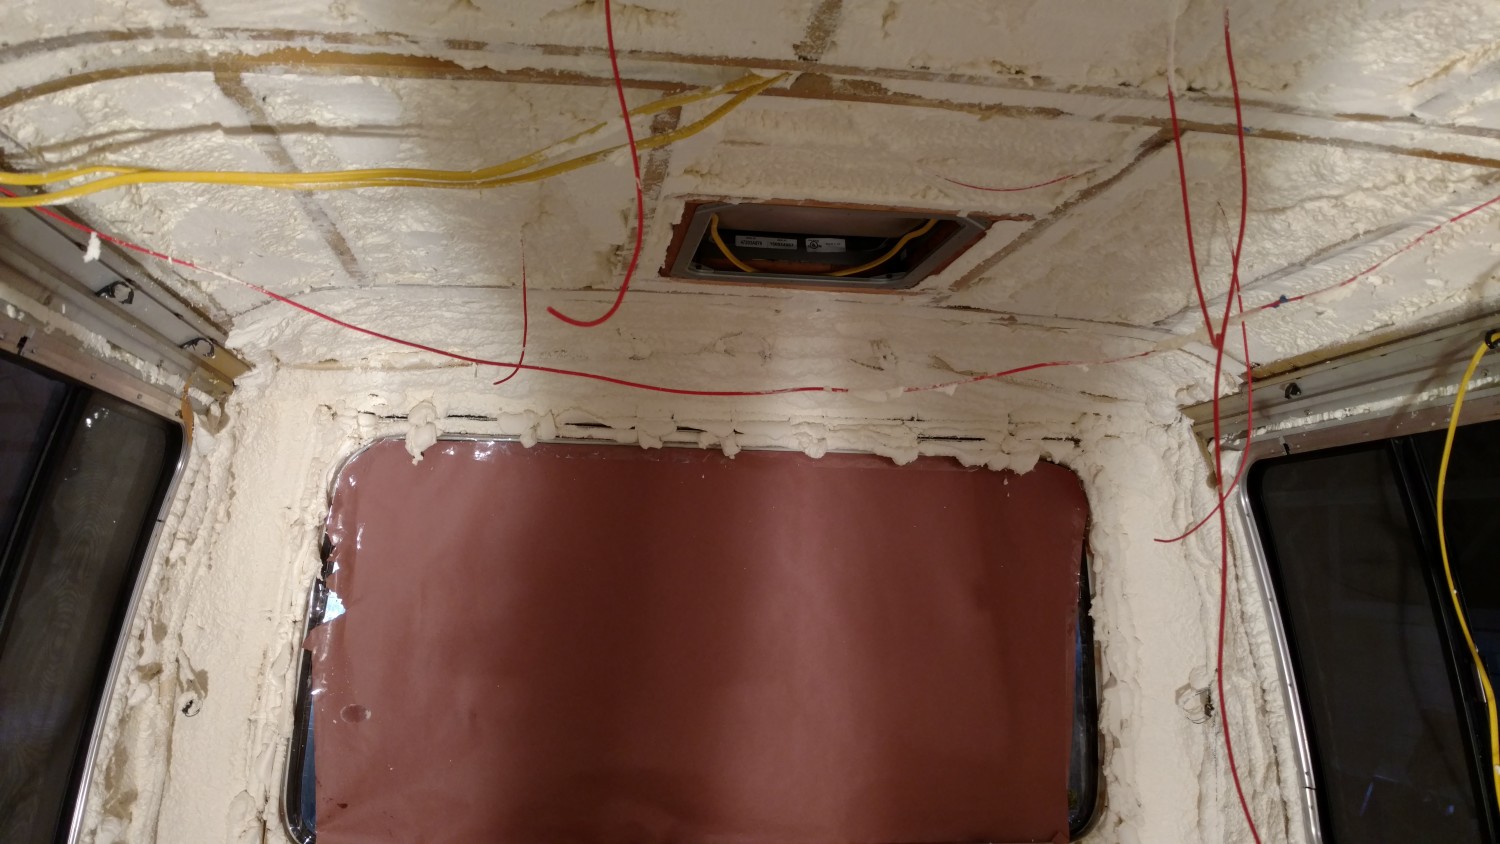
After reading the directions it went off without a hitch. It took a few hours to mask everything off and probably a total of 10 minutes to spray. Spray in 1″ thick layers and then go back and do another pass until you reach the thickness you want. This stuff cures hot, if you spray it really thick it gets too hot. READ THE DIRECTIONS. I sprayed as even as I could get with the ribs so I have a full 1.5″ of thickness everywhere. This equates to R10.8 which is about as good as you can get in this wall space.
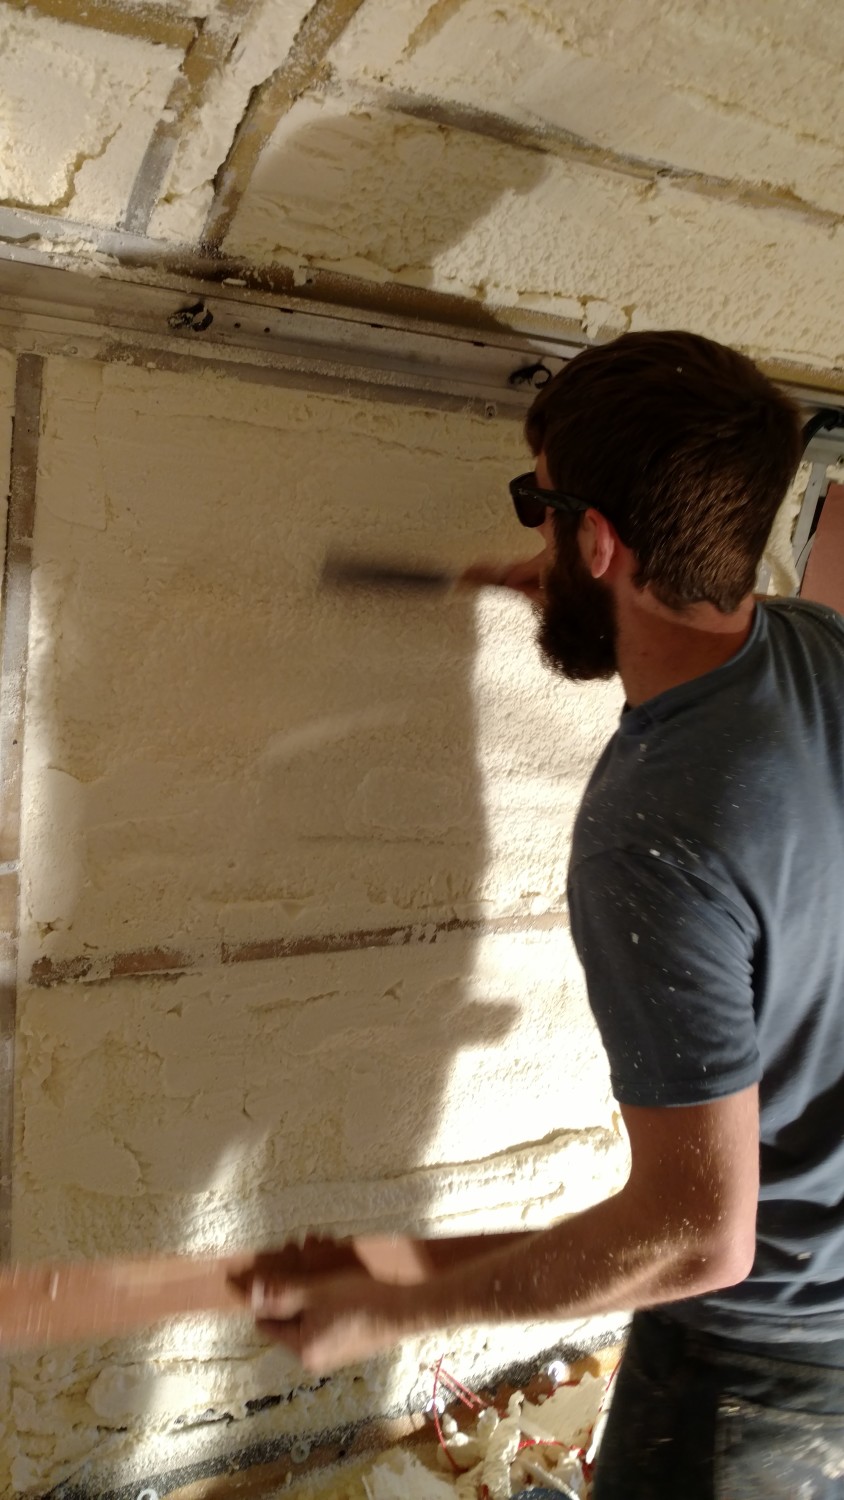
After it’s sprayed and dry (30 sec to 1 min dry time is awesome) you have to go back and trim off any excess. Once again, it’s all about the tools. We tried paint scrapers, razor blades, sawzall and many others before I found the solution. Use a Japanese Flush Cut saw. HERE. It’s a thin flexible blade with teeth and it works wonders. Makes a tough job easy. Took about an hour to trim it all back.
I also pulled the front and rear cap and sprayed under them, it’s not in the photos I apologize.
Overall we are very very pleased with how it turned out, we can already feel how much better it works. Within 10 minutes a halogen light heats up the interior noticeably. I have no doubt that AC and heat will now be a breeze. Not to mention the sound deadening properties for road noise, generator isolation etc.
Here’s the important point:
If I was to do it again would I do it the same? NO
Do not bother to remove all the old insulation, in the few areas that I didn’t remove it (behind the caps) the new foam adhered just as well. So if you’re thinking of doing this at home save yourself a HUGE hassle and just spray over the old foam. You can use an angle grinder with a flap wheel to rough up the surface to help with adhesion if you see fit, but I don’t think it’s necessary. Here we are weeks later and the shit’s still stuck to my hands!


