

Dash Removal
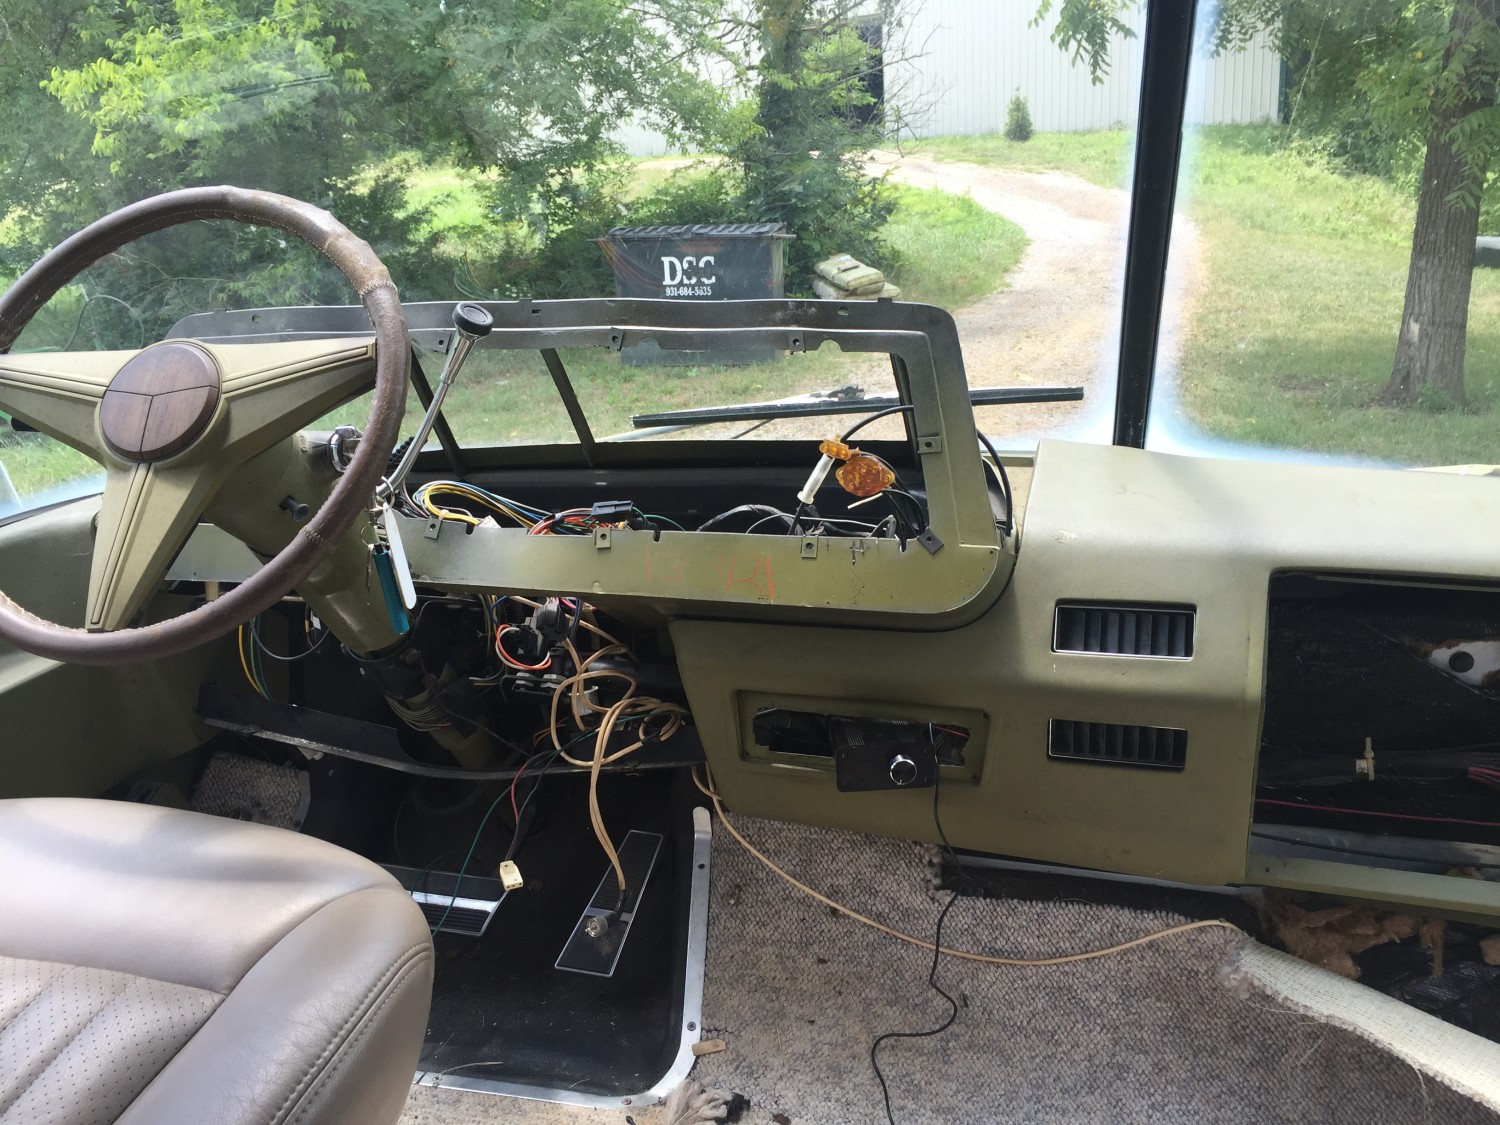
Removing the dash turned out to be a lot more work than we expected.
Our beloved PO (previous owner) had broken some of the original brackets in some feeble attempt at repairs sometime long ago.
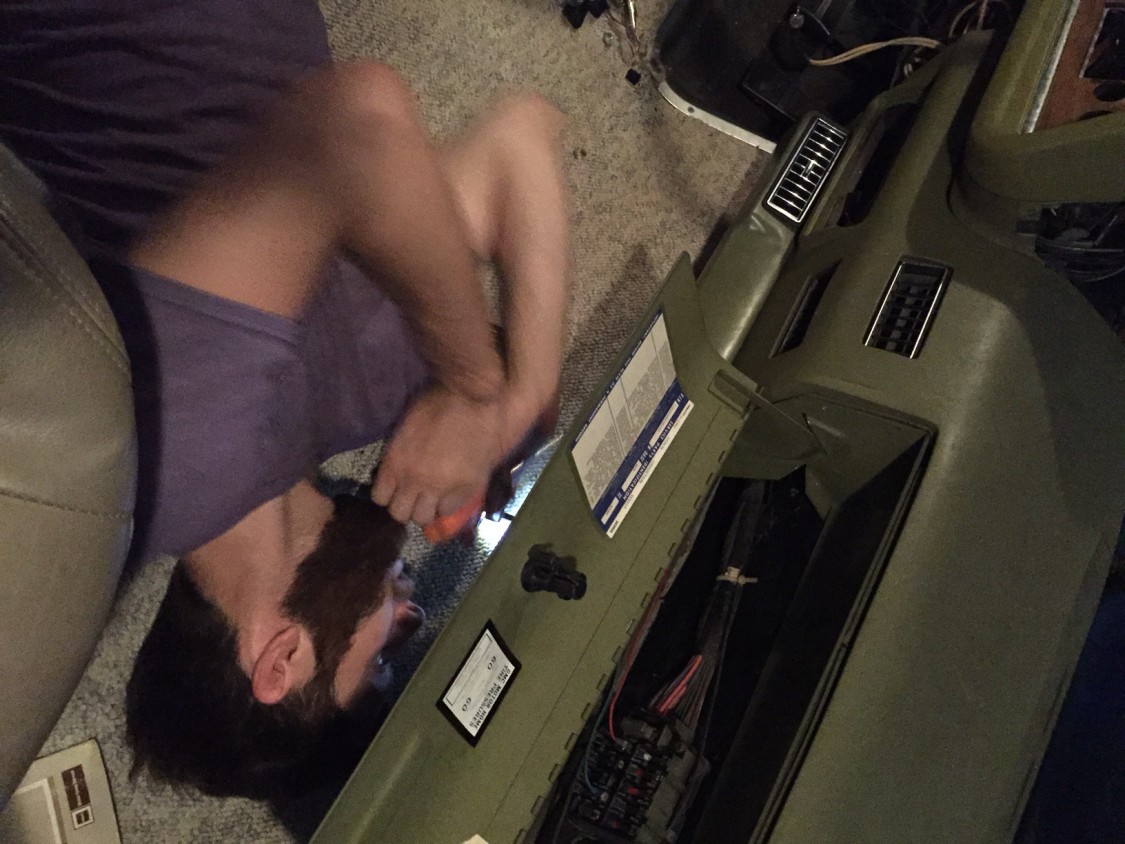
The dash screws are also incredibly difficult to get to near the windshield, the windshield really needs to be removed to get to them correctly. We ended up using a flexible extension on the drill to get them out.
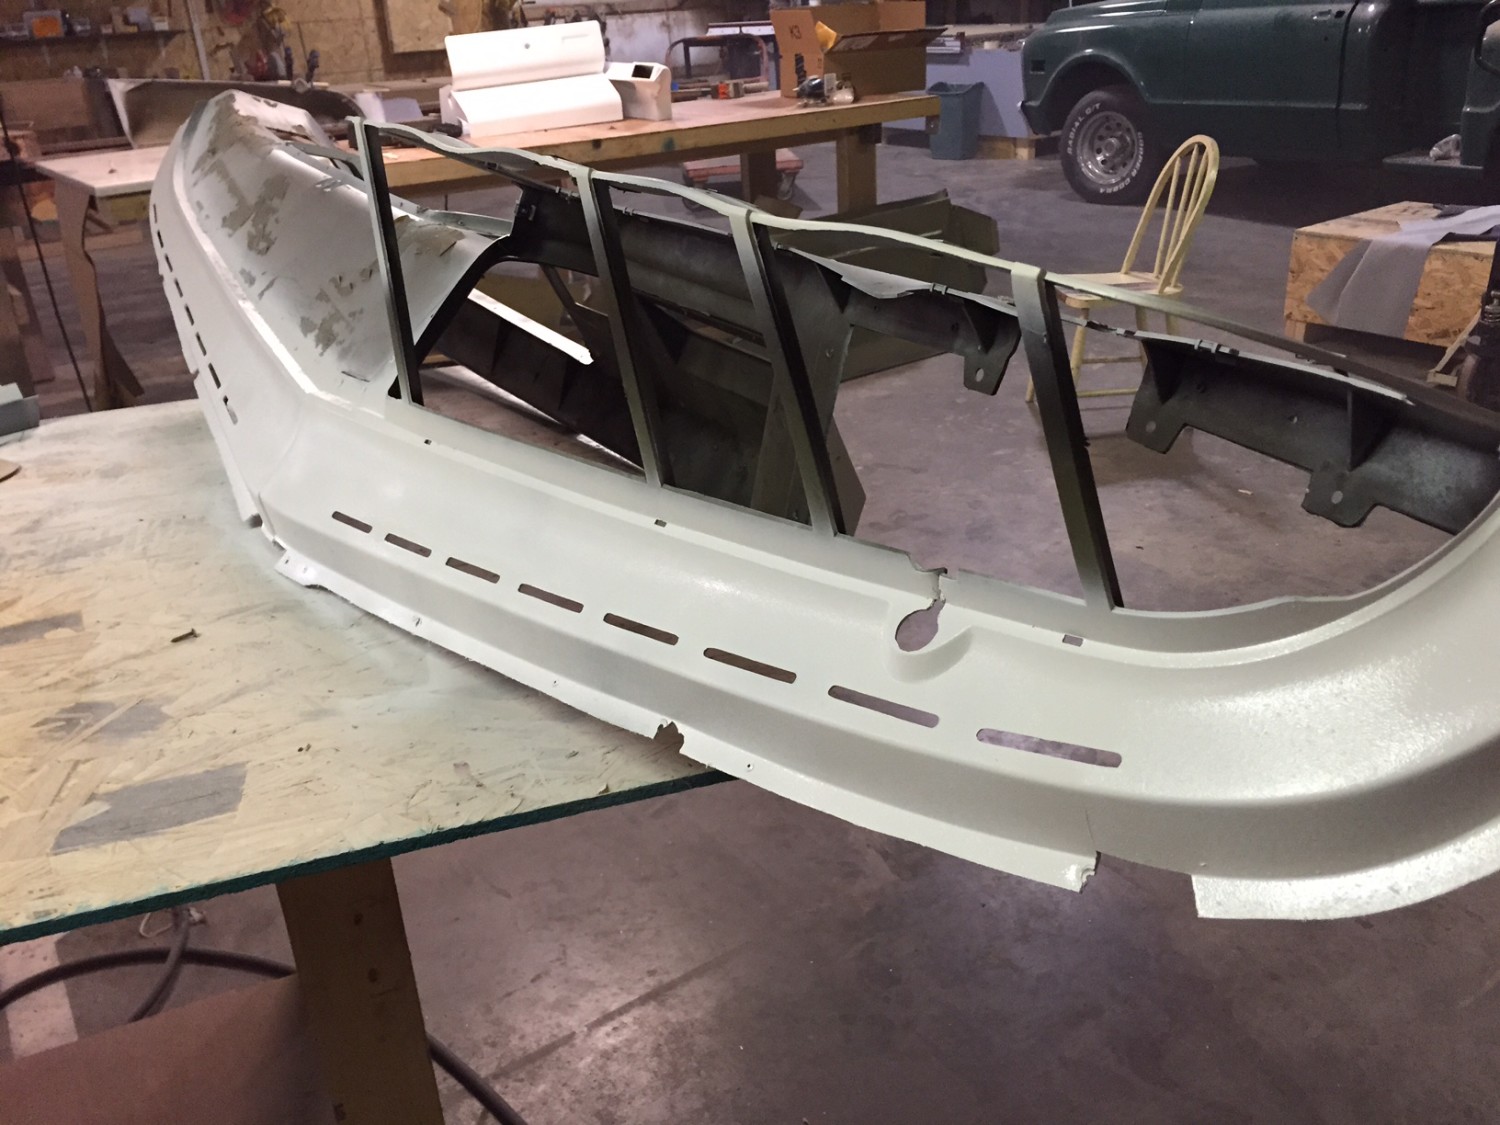
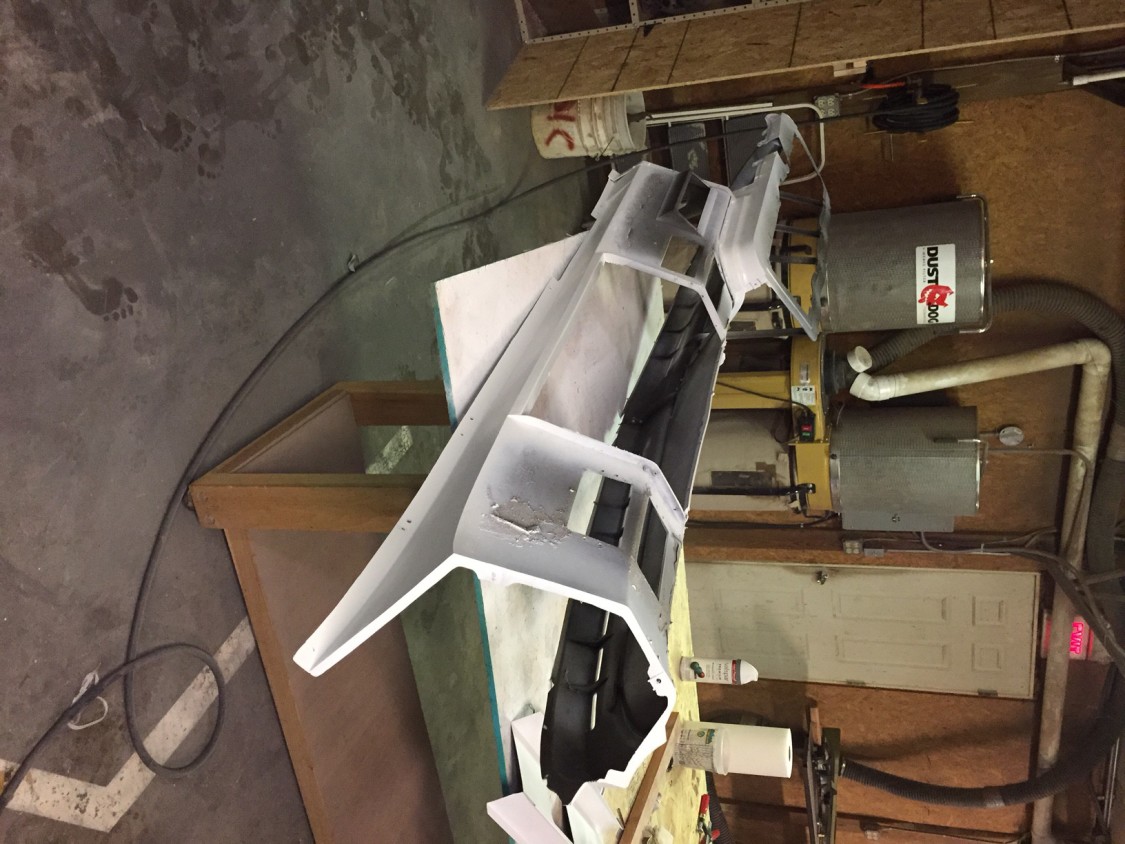
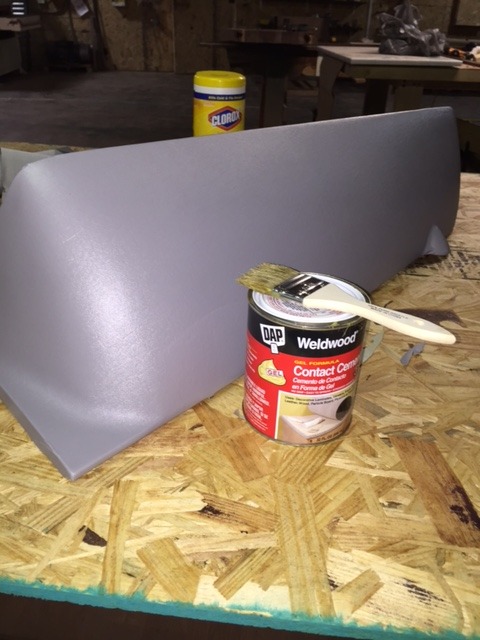
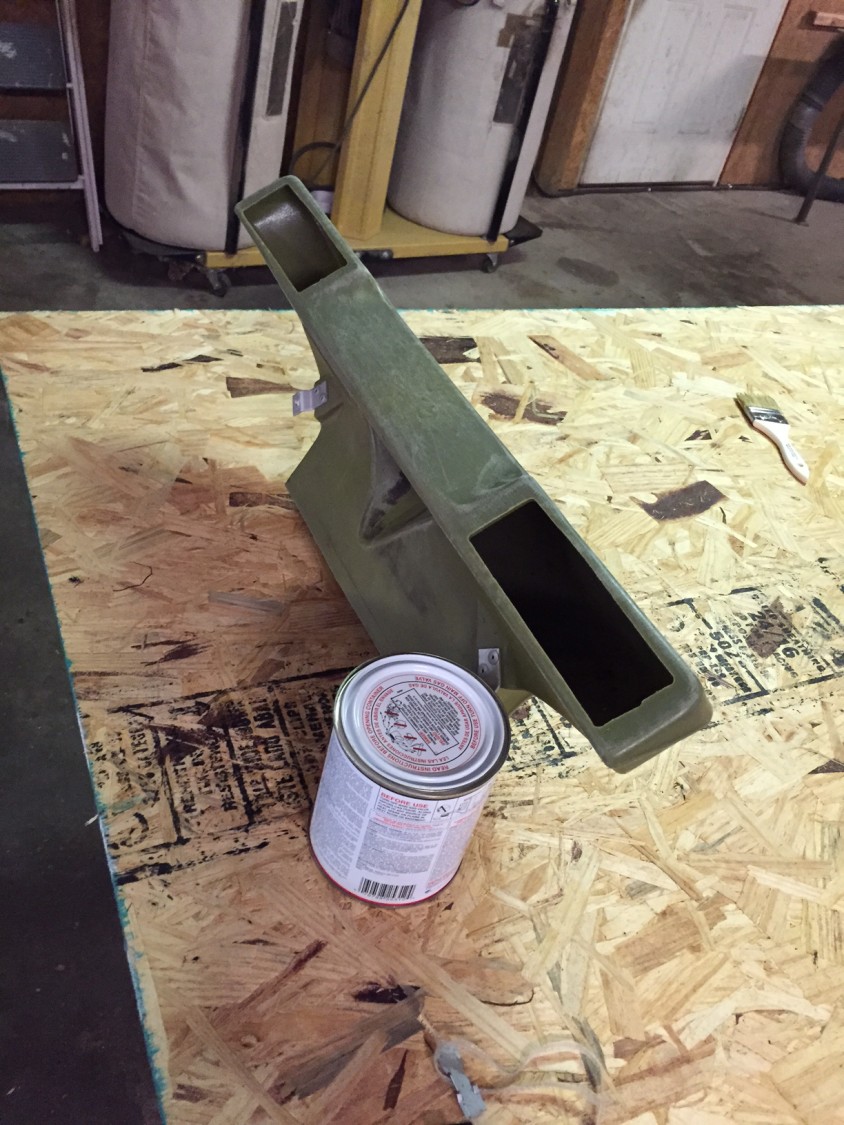
Once the dash was out we removed the original green dash pad and recovered it with grey marine grade vinyl.
Some parts were harder than others for us (being new at upholstery) but we persevered and got the majority of it covered and it looks great! The trim piece around the gauges and the “door panels” will have to be professionally done at a later date.
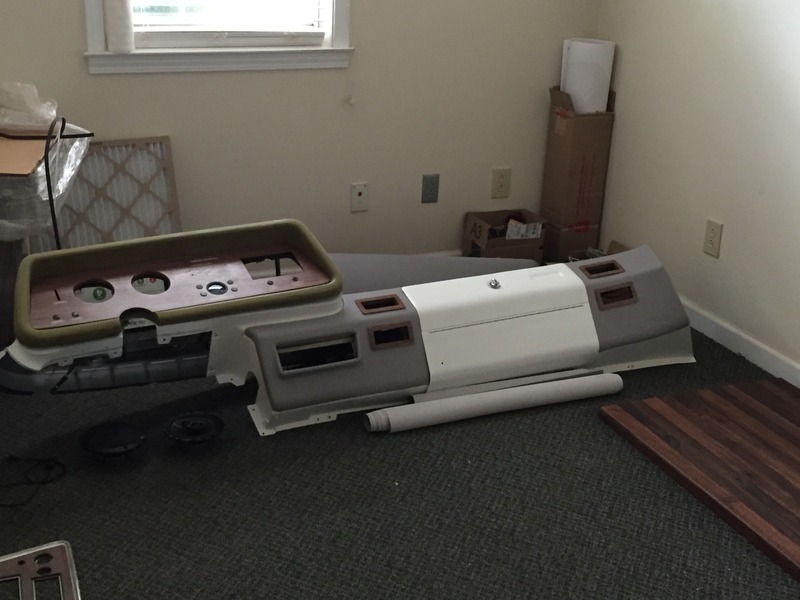
Once everything was covered in vinyl we lightly sanded the plastic parts and put put a few coats of white 2k epoxy paint on followed by some 2k clear.
At this point we took a break for some of the fun stuff.
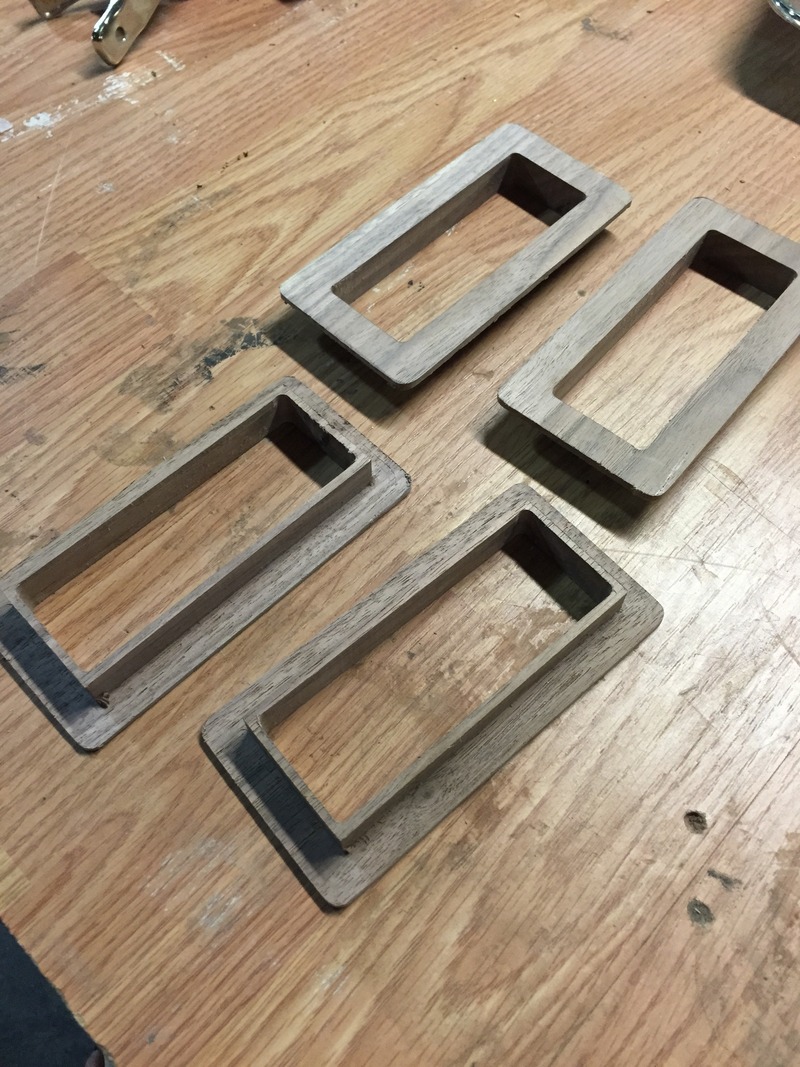
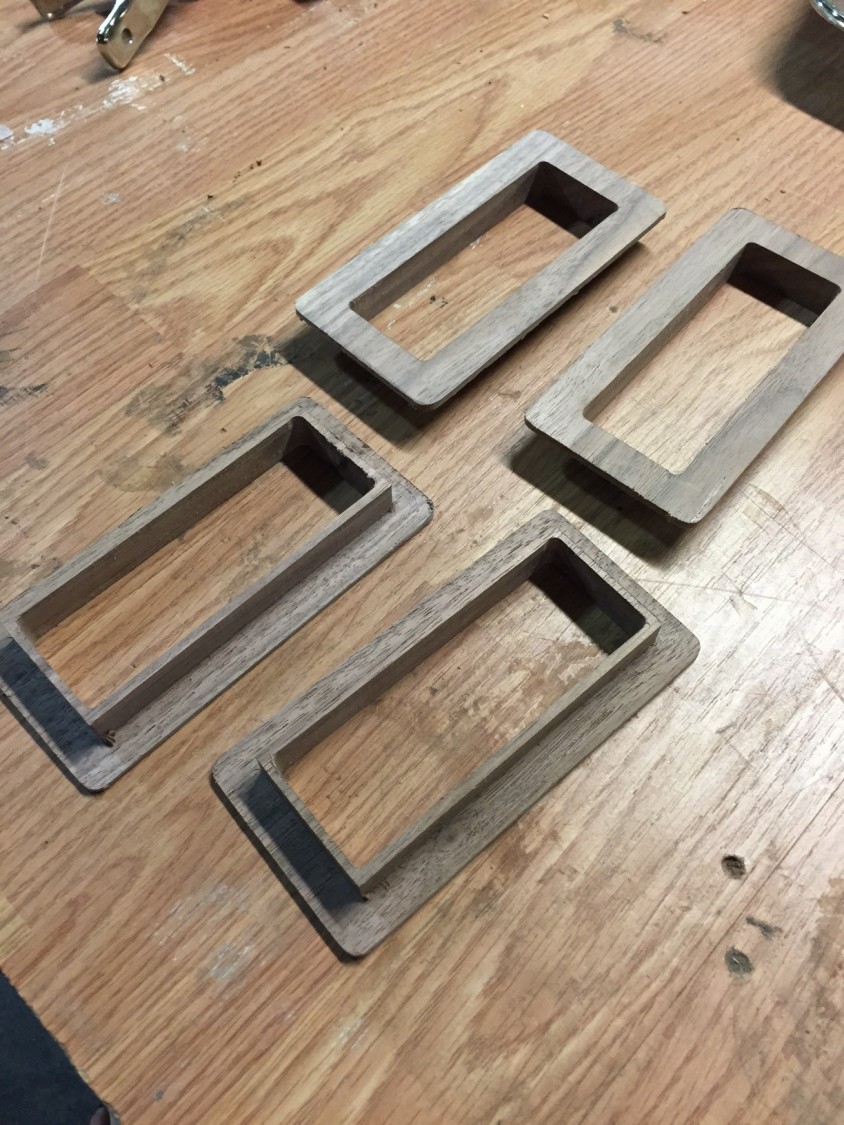
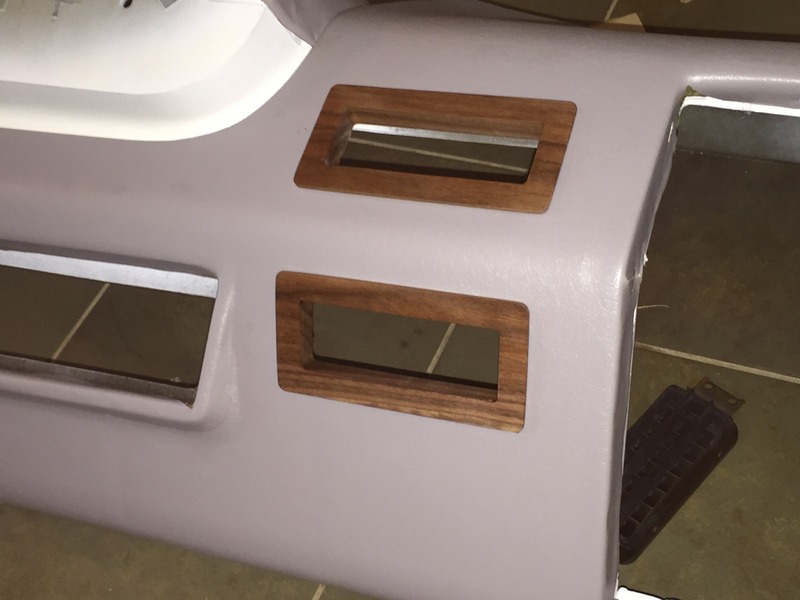
Using the CNC router we made some Black Walnut trim for the ugly stock air vents, it helps break up the grey and goes with the color scheme (walnut, white, grey and a few accent colors)
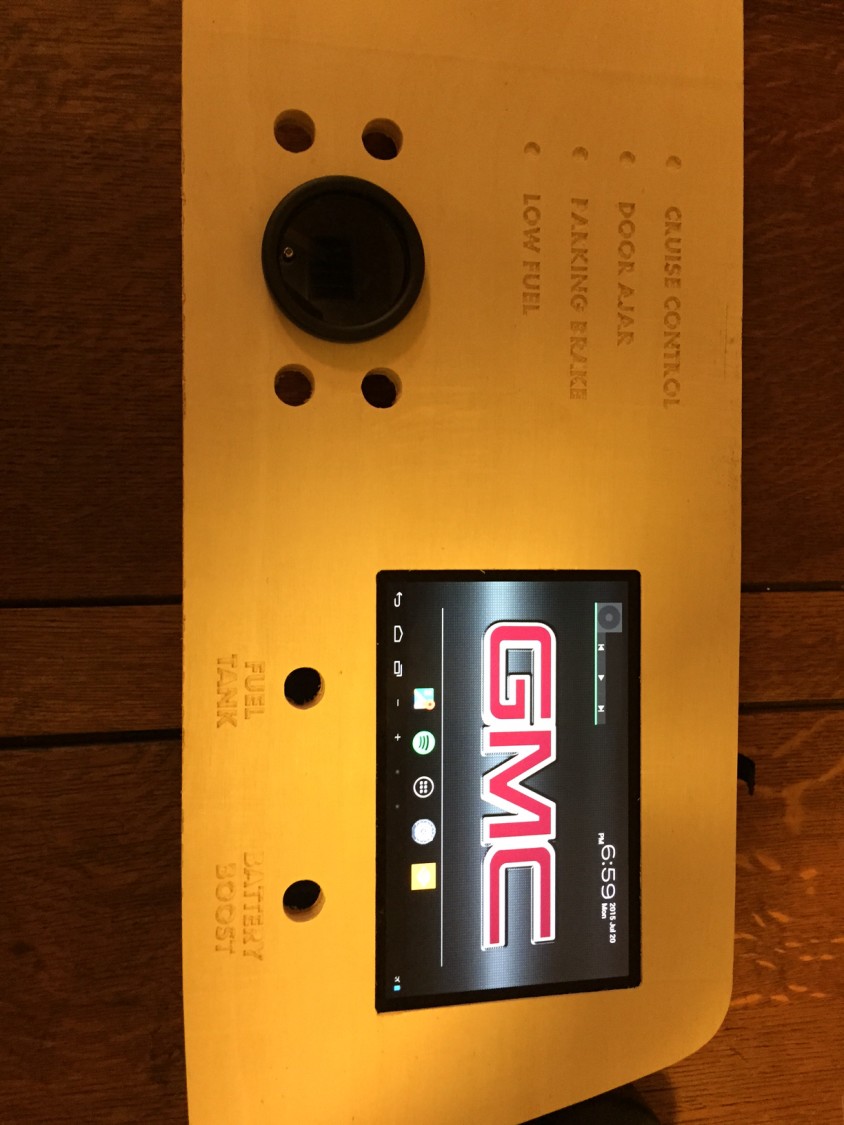
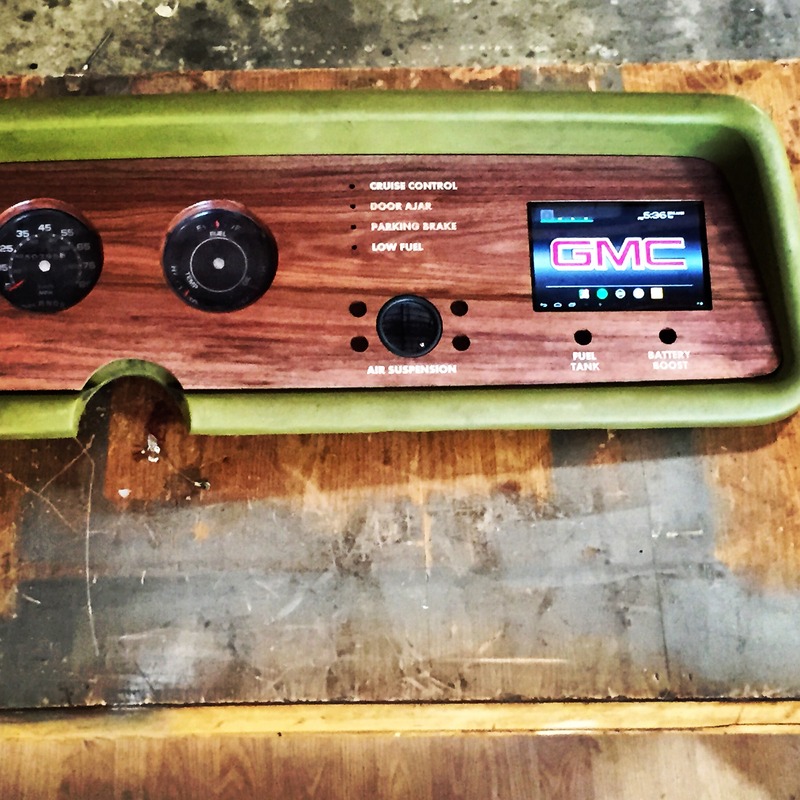
From there we turned our attention to the actual dash. I wanted to add a modern touch to it, so we removed the air conditioner controls and replaced them with a Google Nexus 7 Tablet. This will serve as all of our music and navigation, as well as back up camera and extra gauges. It took a lot of little details to get this accomplished that I won’t bore you guys with but in the end I think it’s going to be killer.
At the same time we replaced all the lights in the dash with LED’s, changed all the switches to push button LED switches, and added a dual needle air gauge to monitor air bag pressure.
Using the CNC we cut several prototypes from ply and cut the final copy from Black Walnut.